My first mechanical keyboard ever was the Keychron K2 with Gateron Red (linear) switches. I’ve used it since Grade 8!
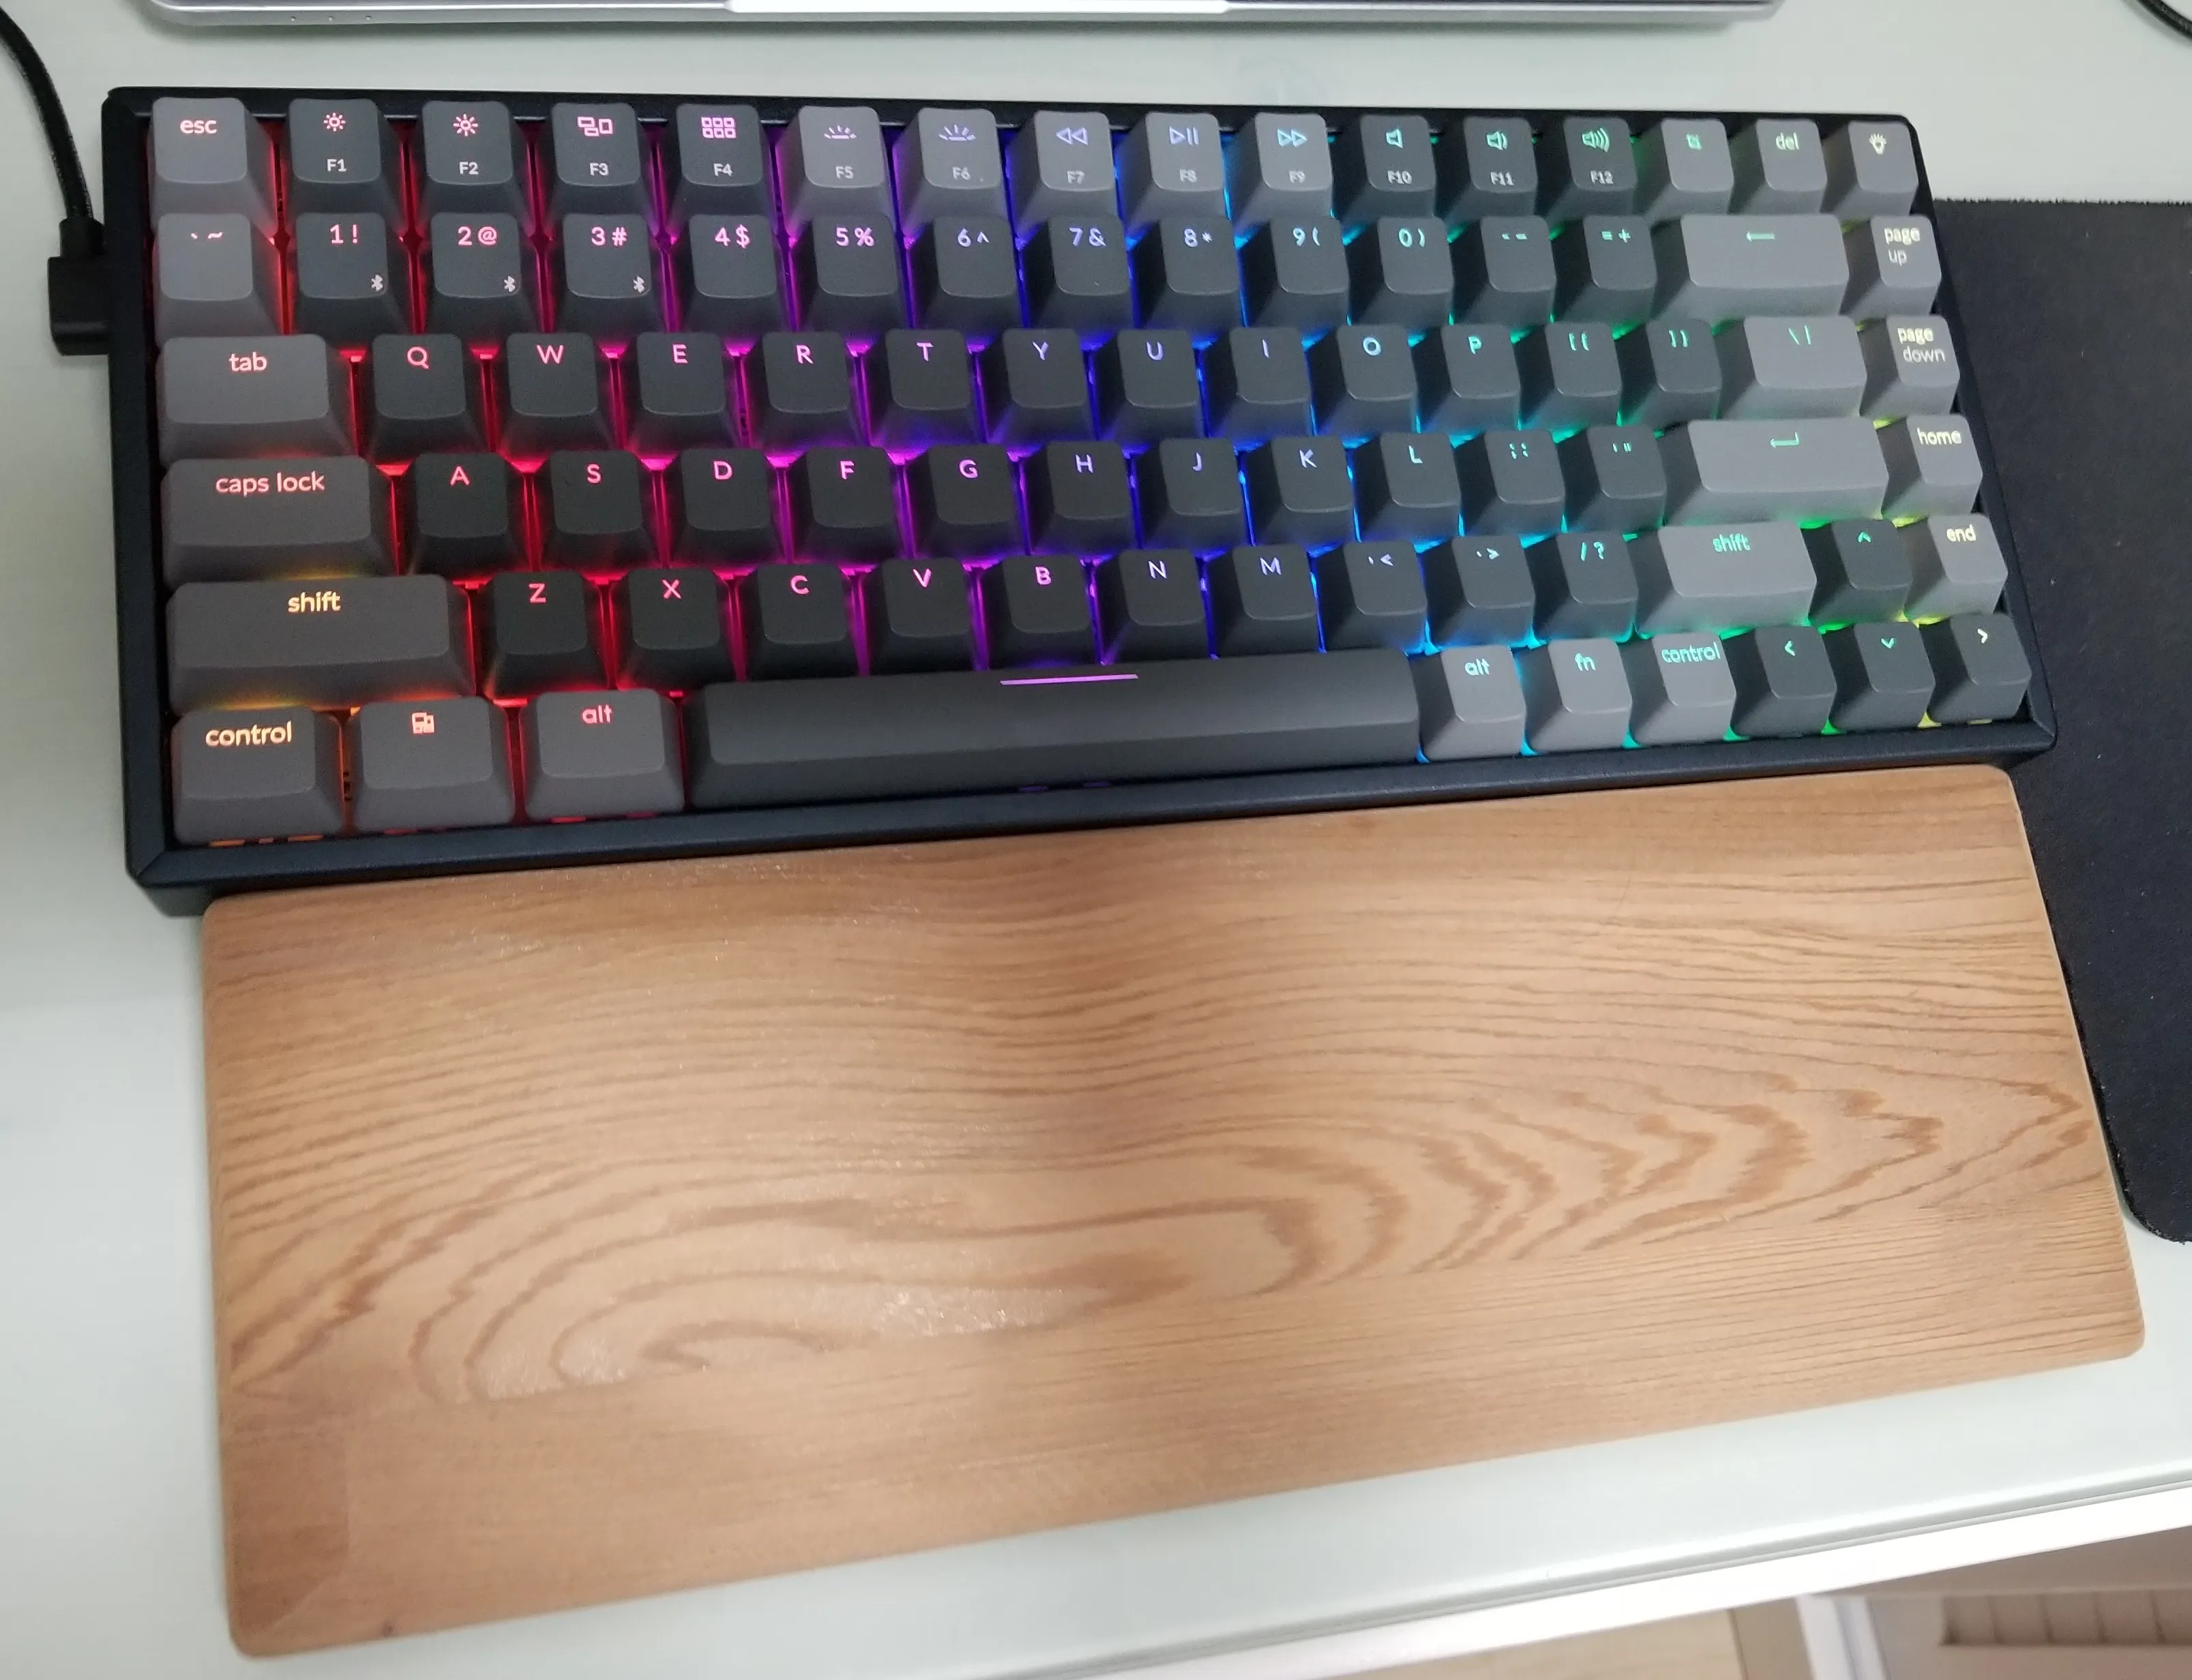 The K2, with a custom wooden wrist rest
As I’ve used laptop keyboards exclusively before, I chose the K2 as it had the familiar “75%” layout, with the regular alphanumeric keys and modifiers, as well as arrow/navigation keys and the function row.
Ergonomics
However, after long coding sessions, I would sometimes find my wrists and hands a bit tired. When looking for more ergonomic solutions, I found out that our typical keyboard layout, with its staggered keys and QWERTY layout, isn’t particularly optimized for ergonomics.
Rather, the combination of
- staggered keys contorting our fingers in uncomfortable directions
- the proximity of our hands to each other, bending our hands outwards
- forcing our hands to lie flat
easily leads to repetitive strain injury and carpal tunnel. While I haven’t experienced any of these yet (fortunately), I decided to explore other layout options to prevent such problems in the future.
The Corne keyboard
One of the first ergonomic keyboards that I came across was the Corne or CRKBD, a 42-key ergonomic split keyboard.
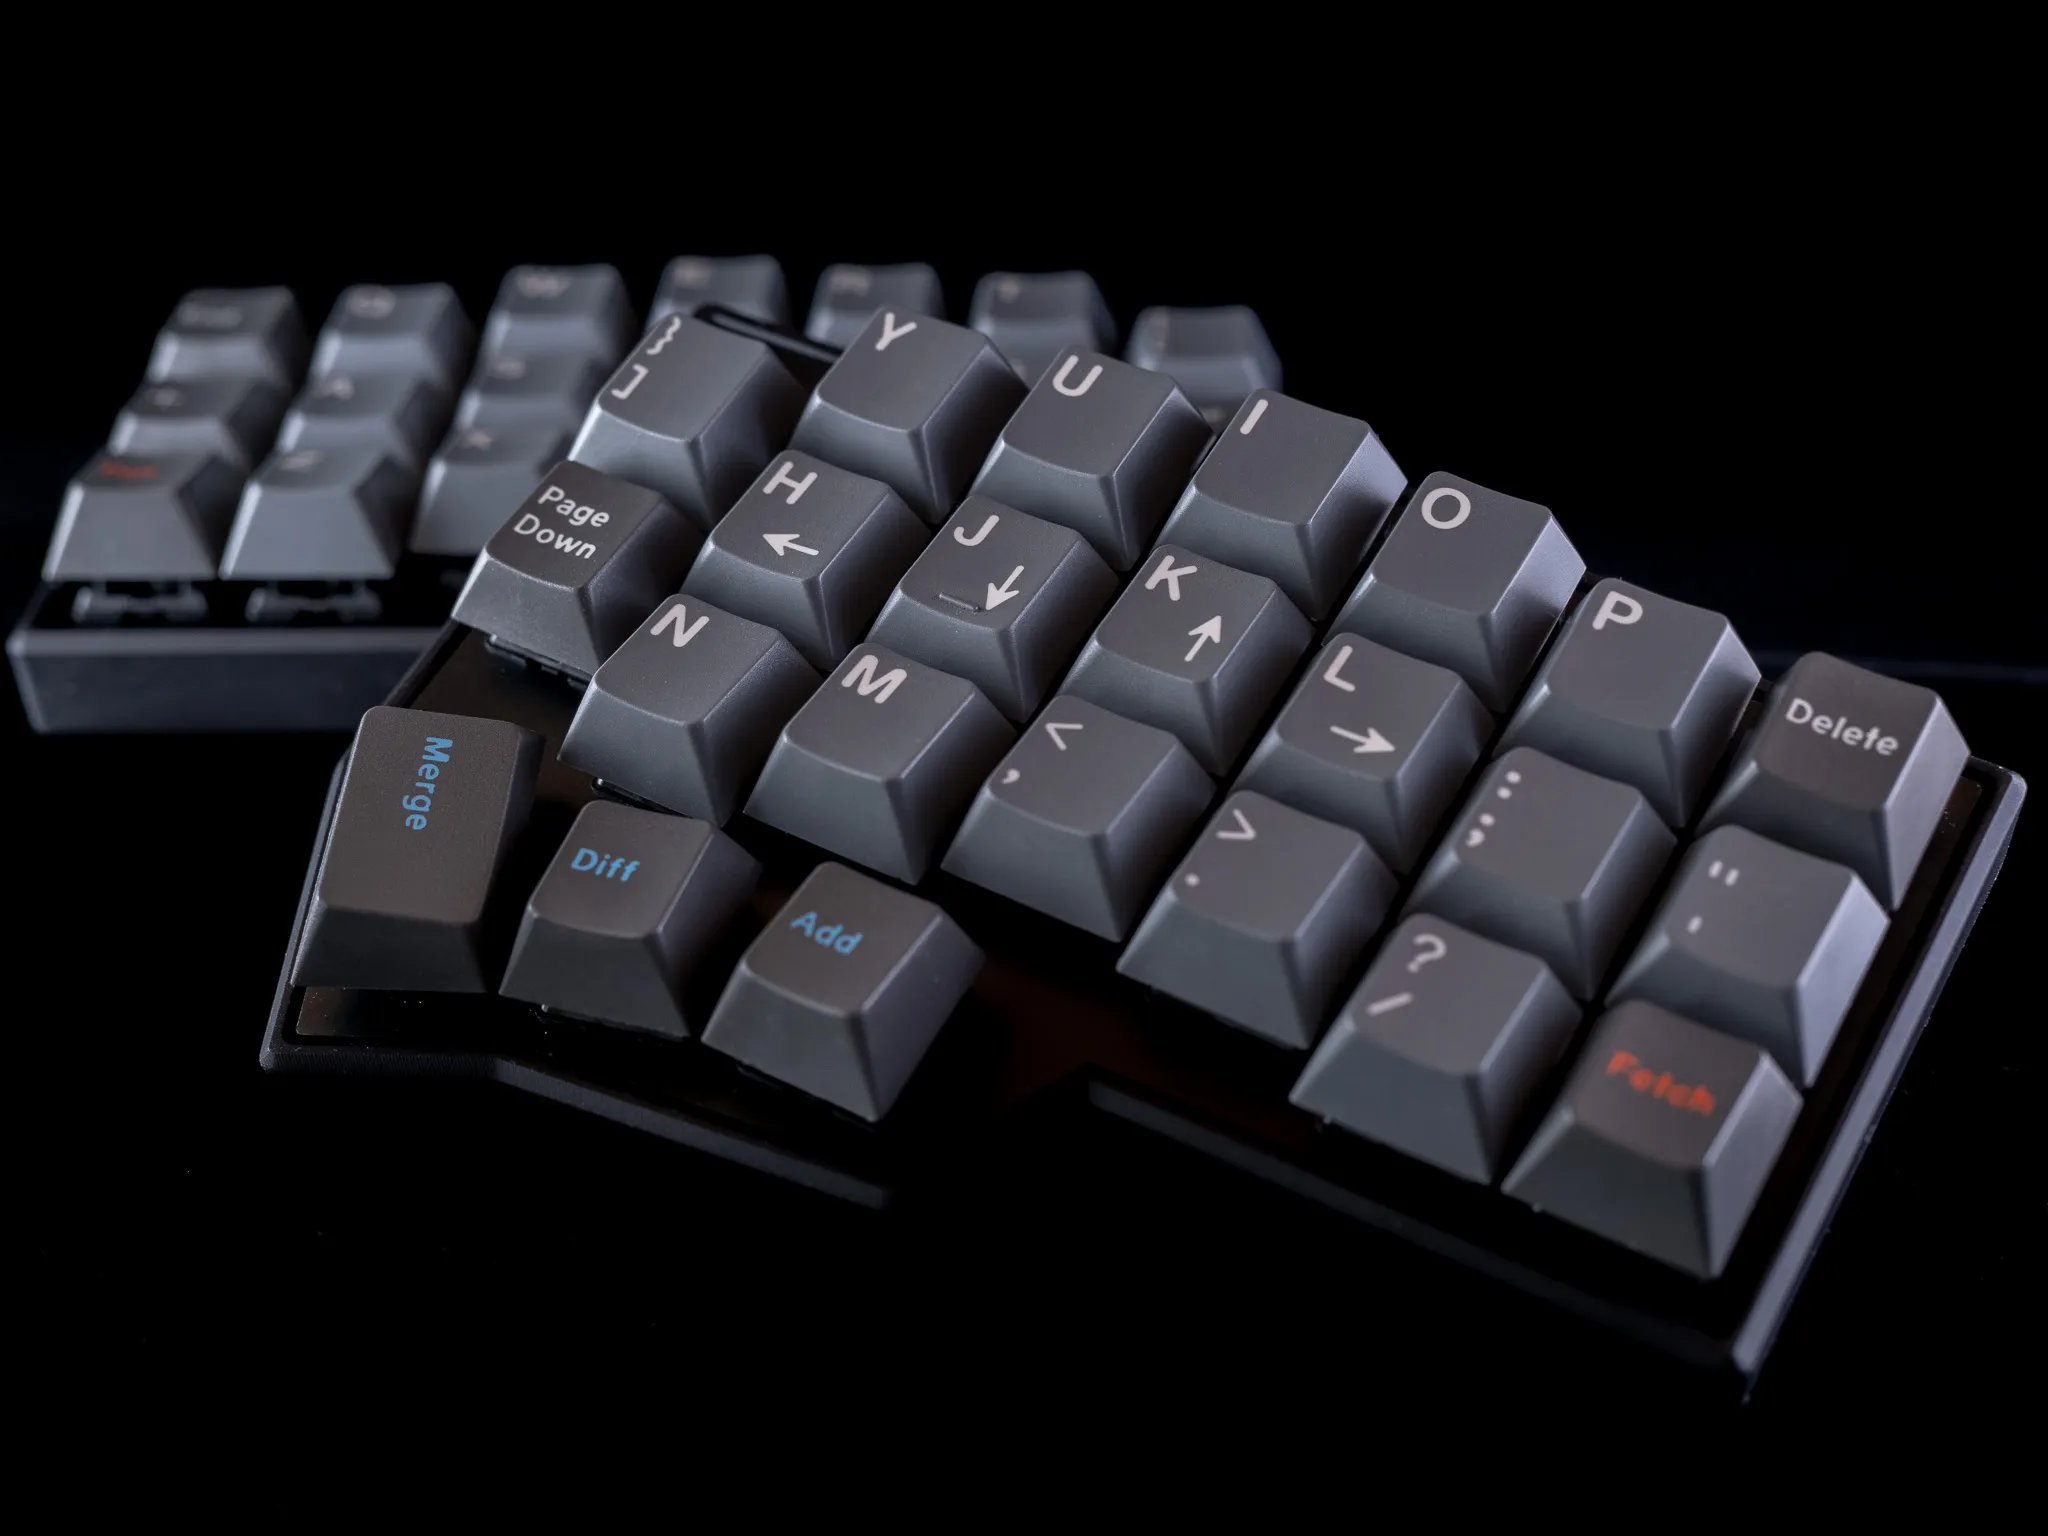
The split layout allows users to keep their hands apart and tilt the keyboard in a way that makes it comfortable and natural to type. The layout is also columnar instead of staggered, which means the keys line up in columns instead of in staggered rows, making it easier for fingers to move up and down without having to move horizontally. There is also ortholinear (a perfect grid of keys), but columnar layouts account for fingers being different lengths.
Build process
I followed the official build guide for the Corne Cherry V3.
Gathering the parts
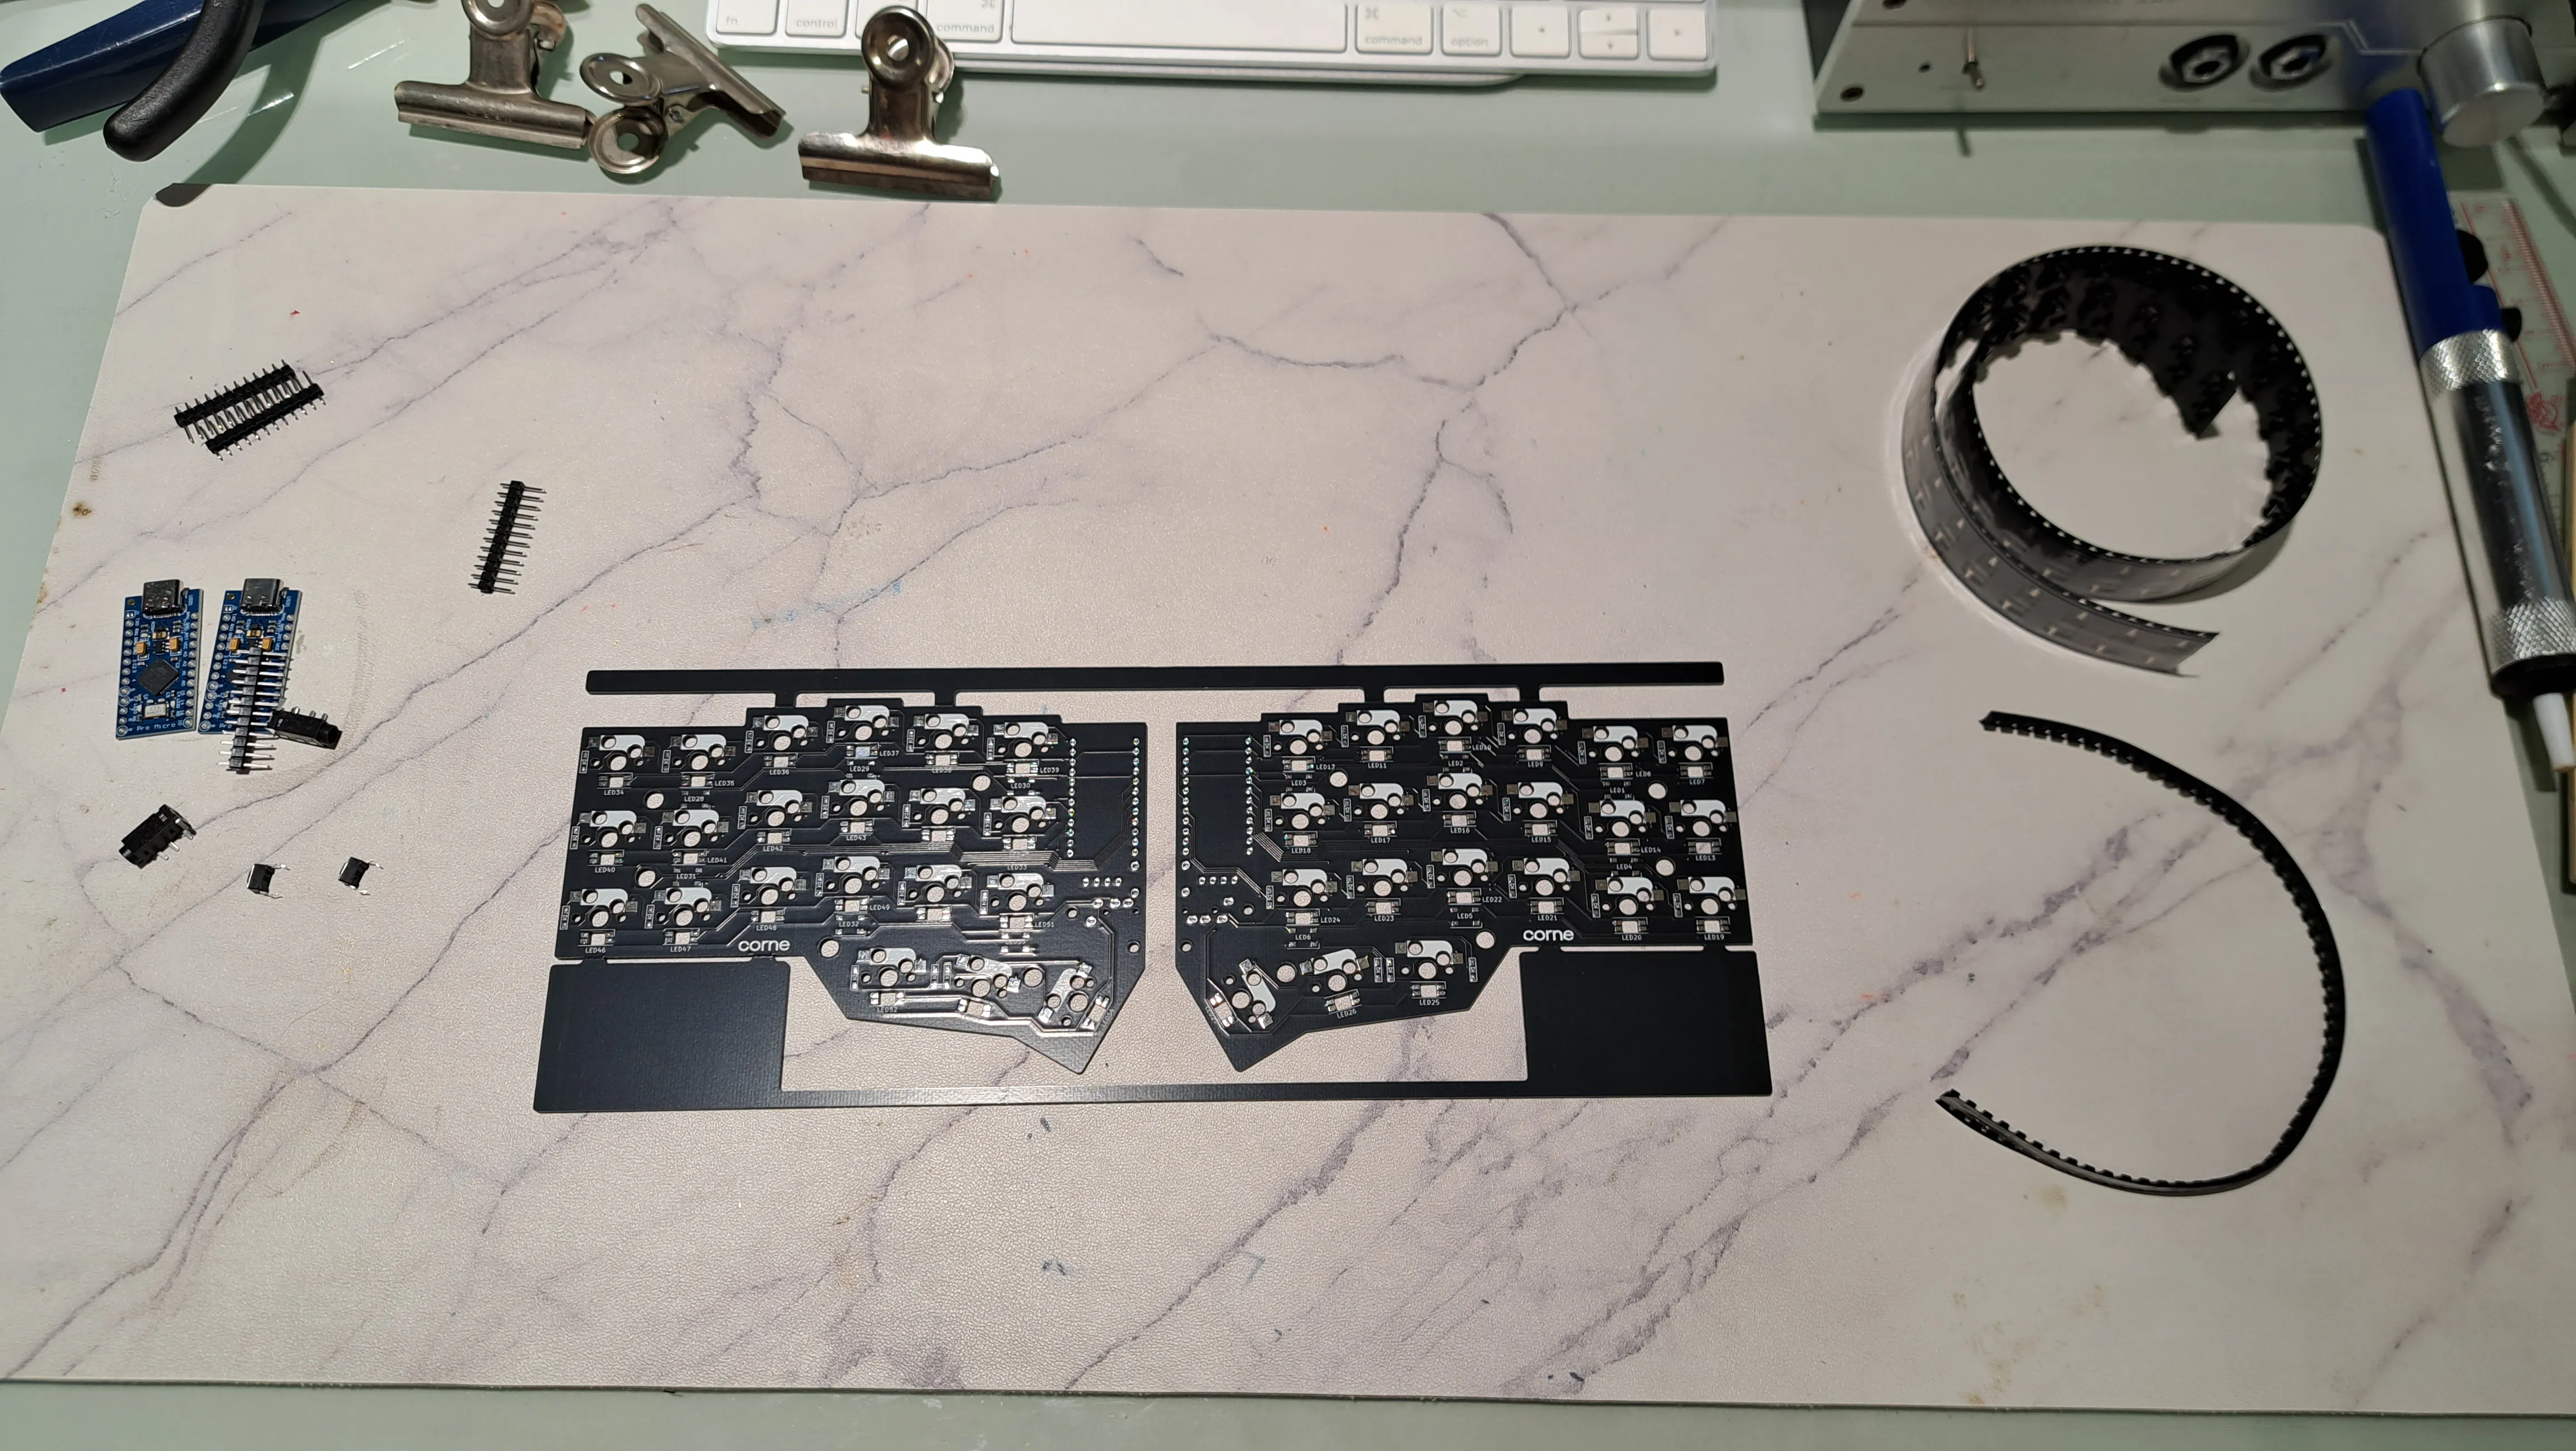
The Corne uses a printed circuit board (PCB) for all circuitry. I downloaded the PCB files from GitHub, created a Gerber file with KiCad and ordered a black PCB from JLCPCB.
I then bought the other parts from Taobao, including Pro Micro (USB-C) microcontrollers, pin headers, buttons, TRRS jacks, surface-mount diodes and Kailh mechanical keyboard switch sockets.
I then used QMK Toolbox to flash the firmware onto both of the microcontrollers.
Circuit assembly
The first step was to solder on all of the surface-mount diodes.
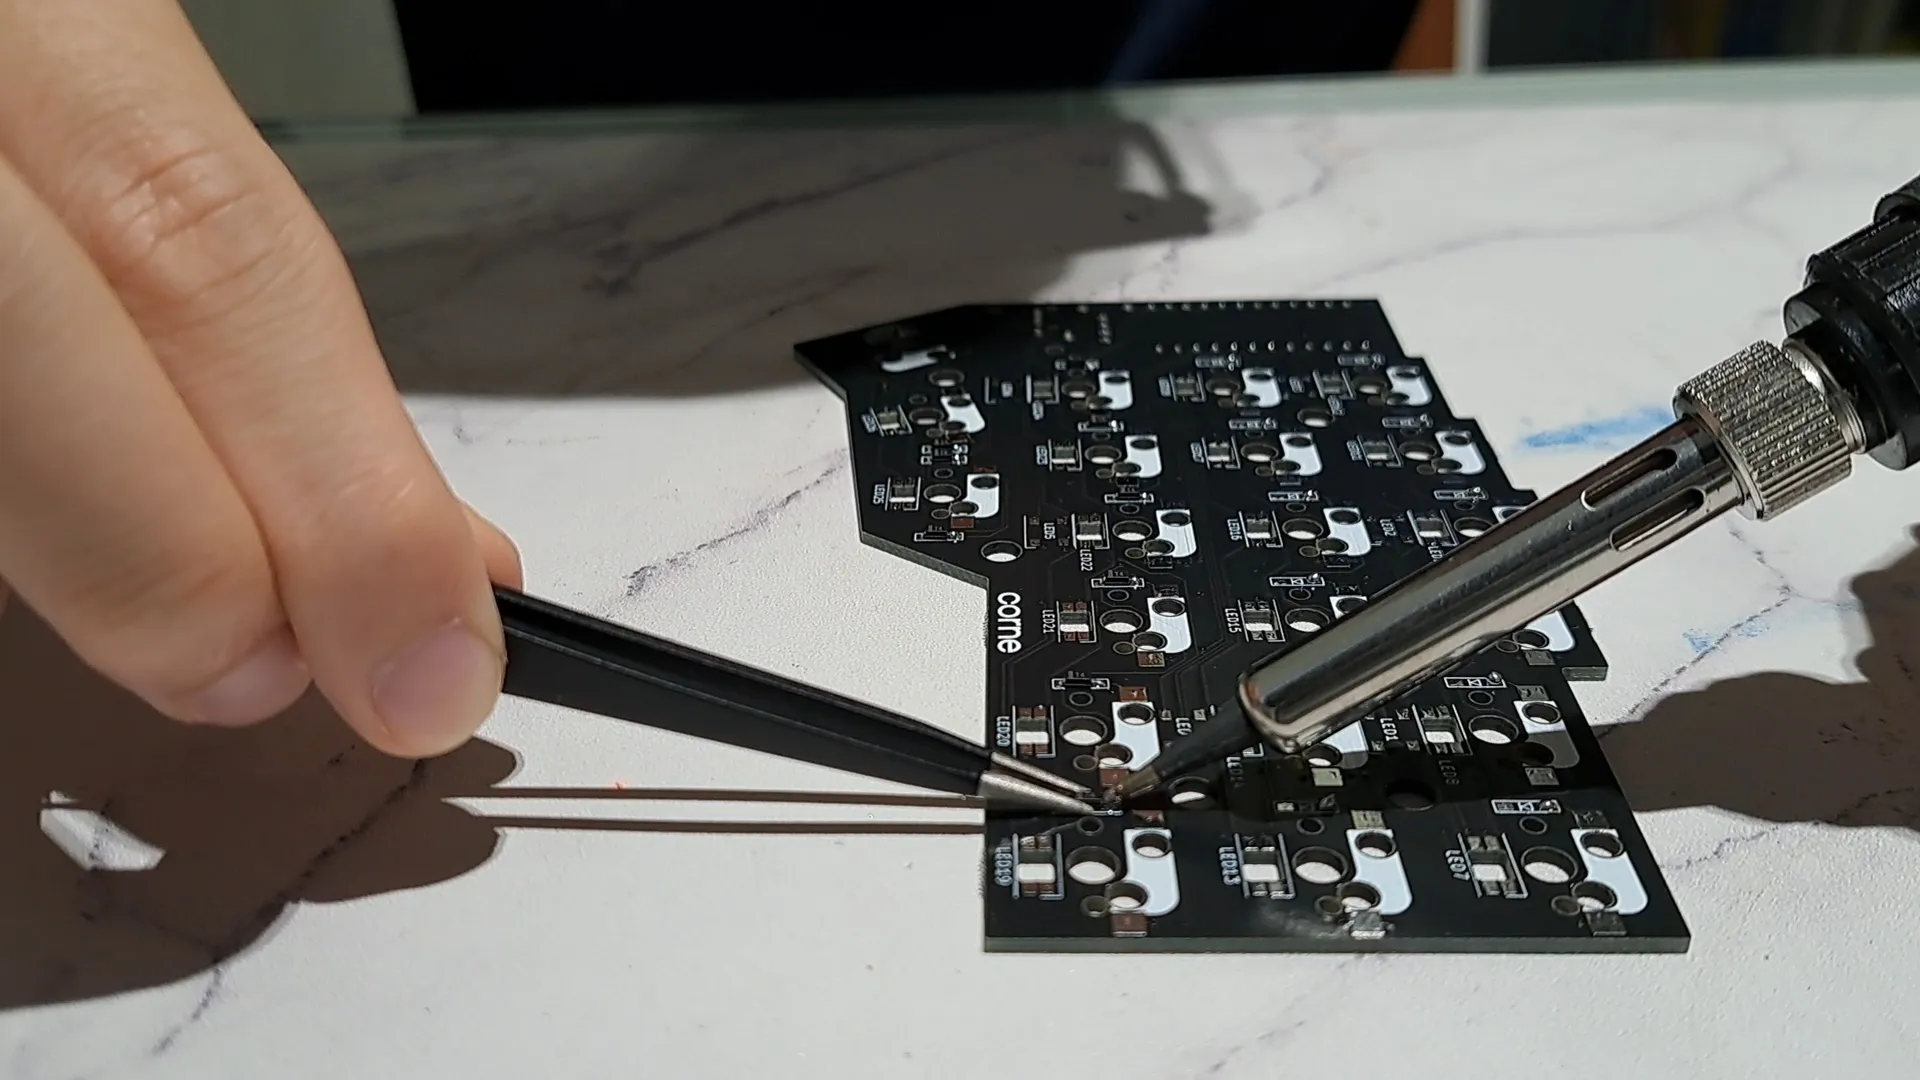
Diodes have a specific direction, as their jobs is to ensure that current only flows in the correct direction. From the build guide:
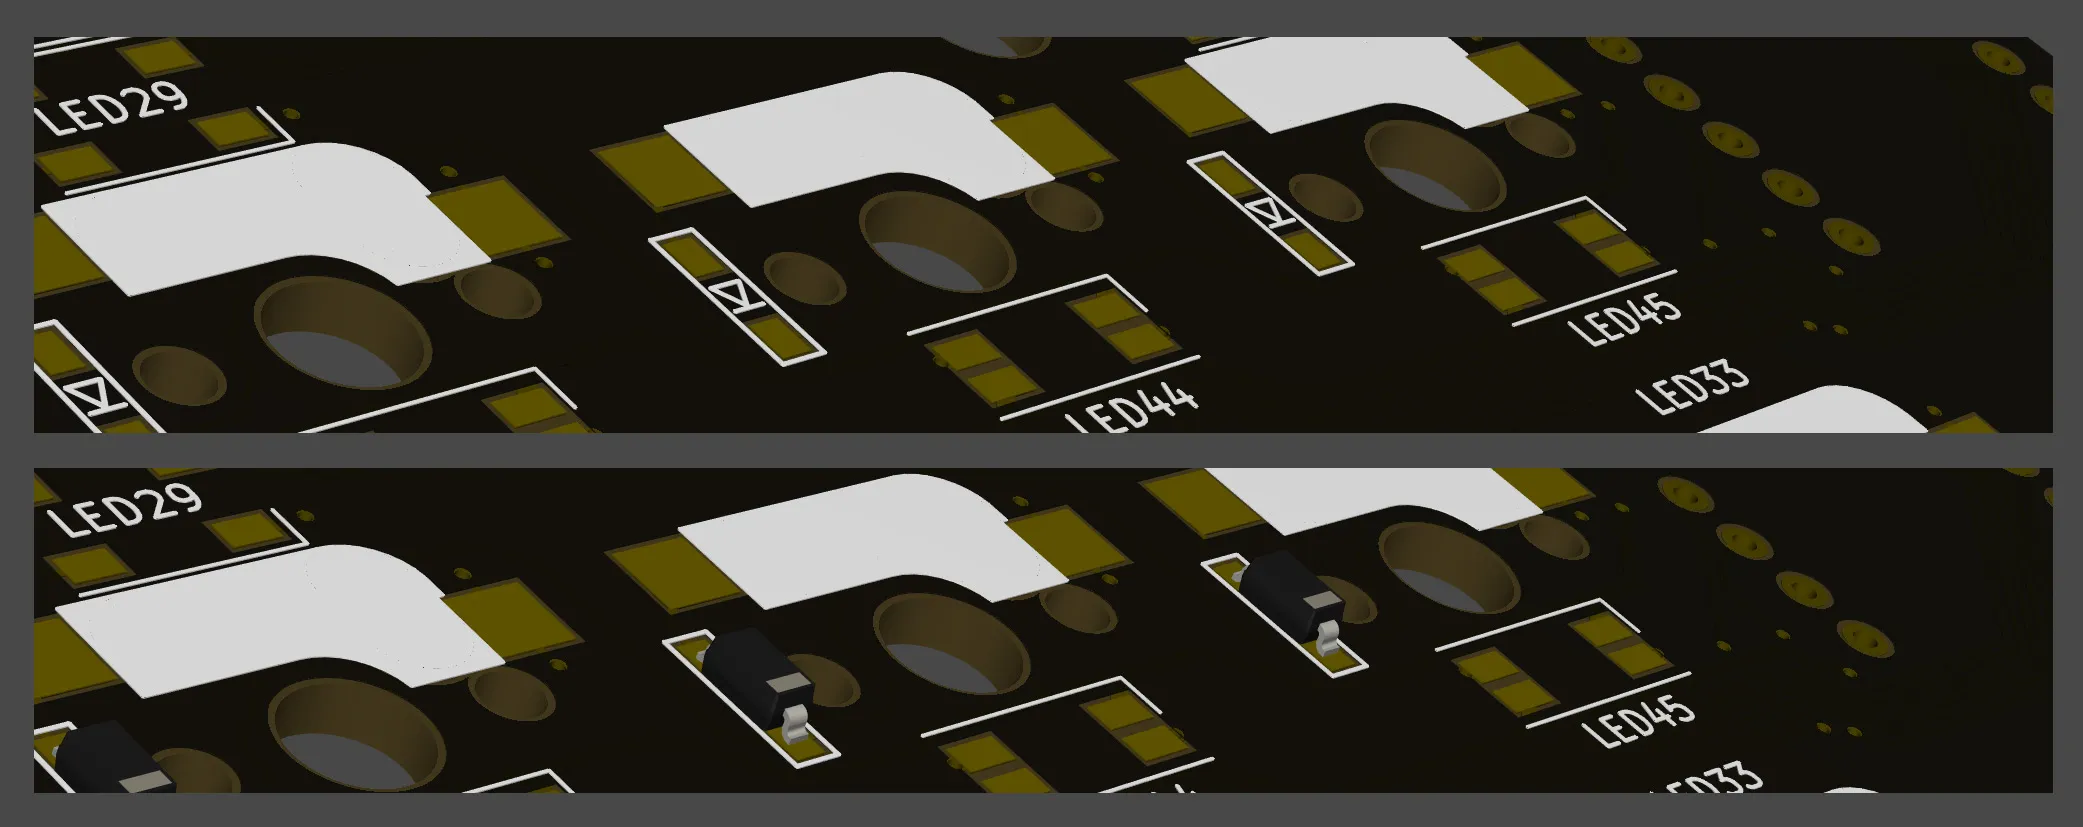
The marking on the diode and the symbol on the PCB must be aligned in order to properly mount the diode. For soldering surface-mount components (including the diodes and sockets) I used this method:
- Heat solder and attach it to the pad on the PCB
- Use tweezers to hold the component over the pre-soldered pad
- Reheat the solder briefly and press the component down, securing it in place
- Solder the other end
Since I didn’t want to add RGB LED lights, the next step was to solder the reset switch and the TRRS jack.
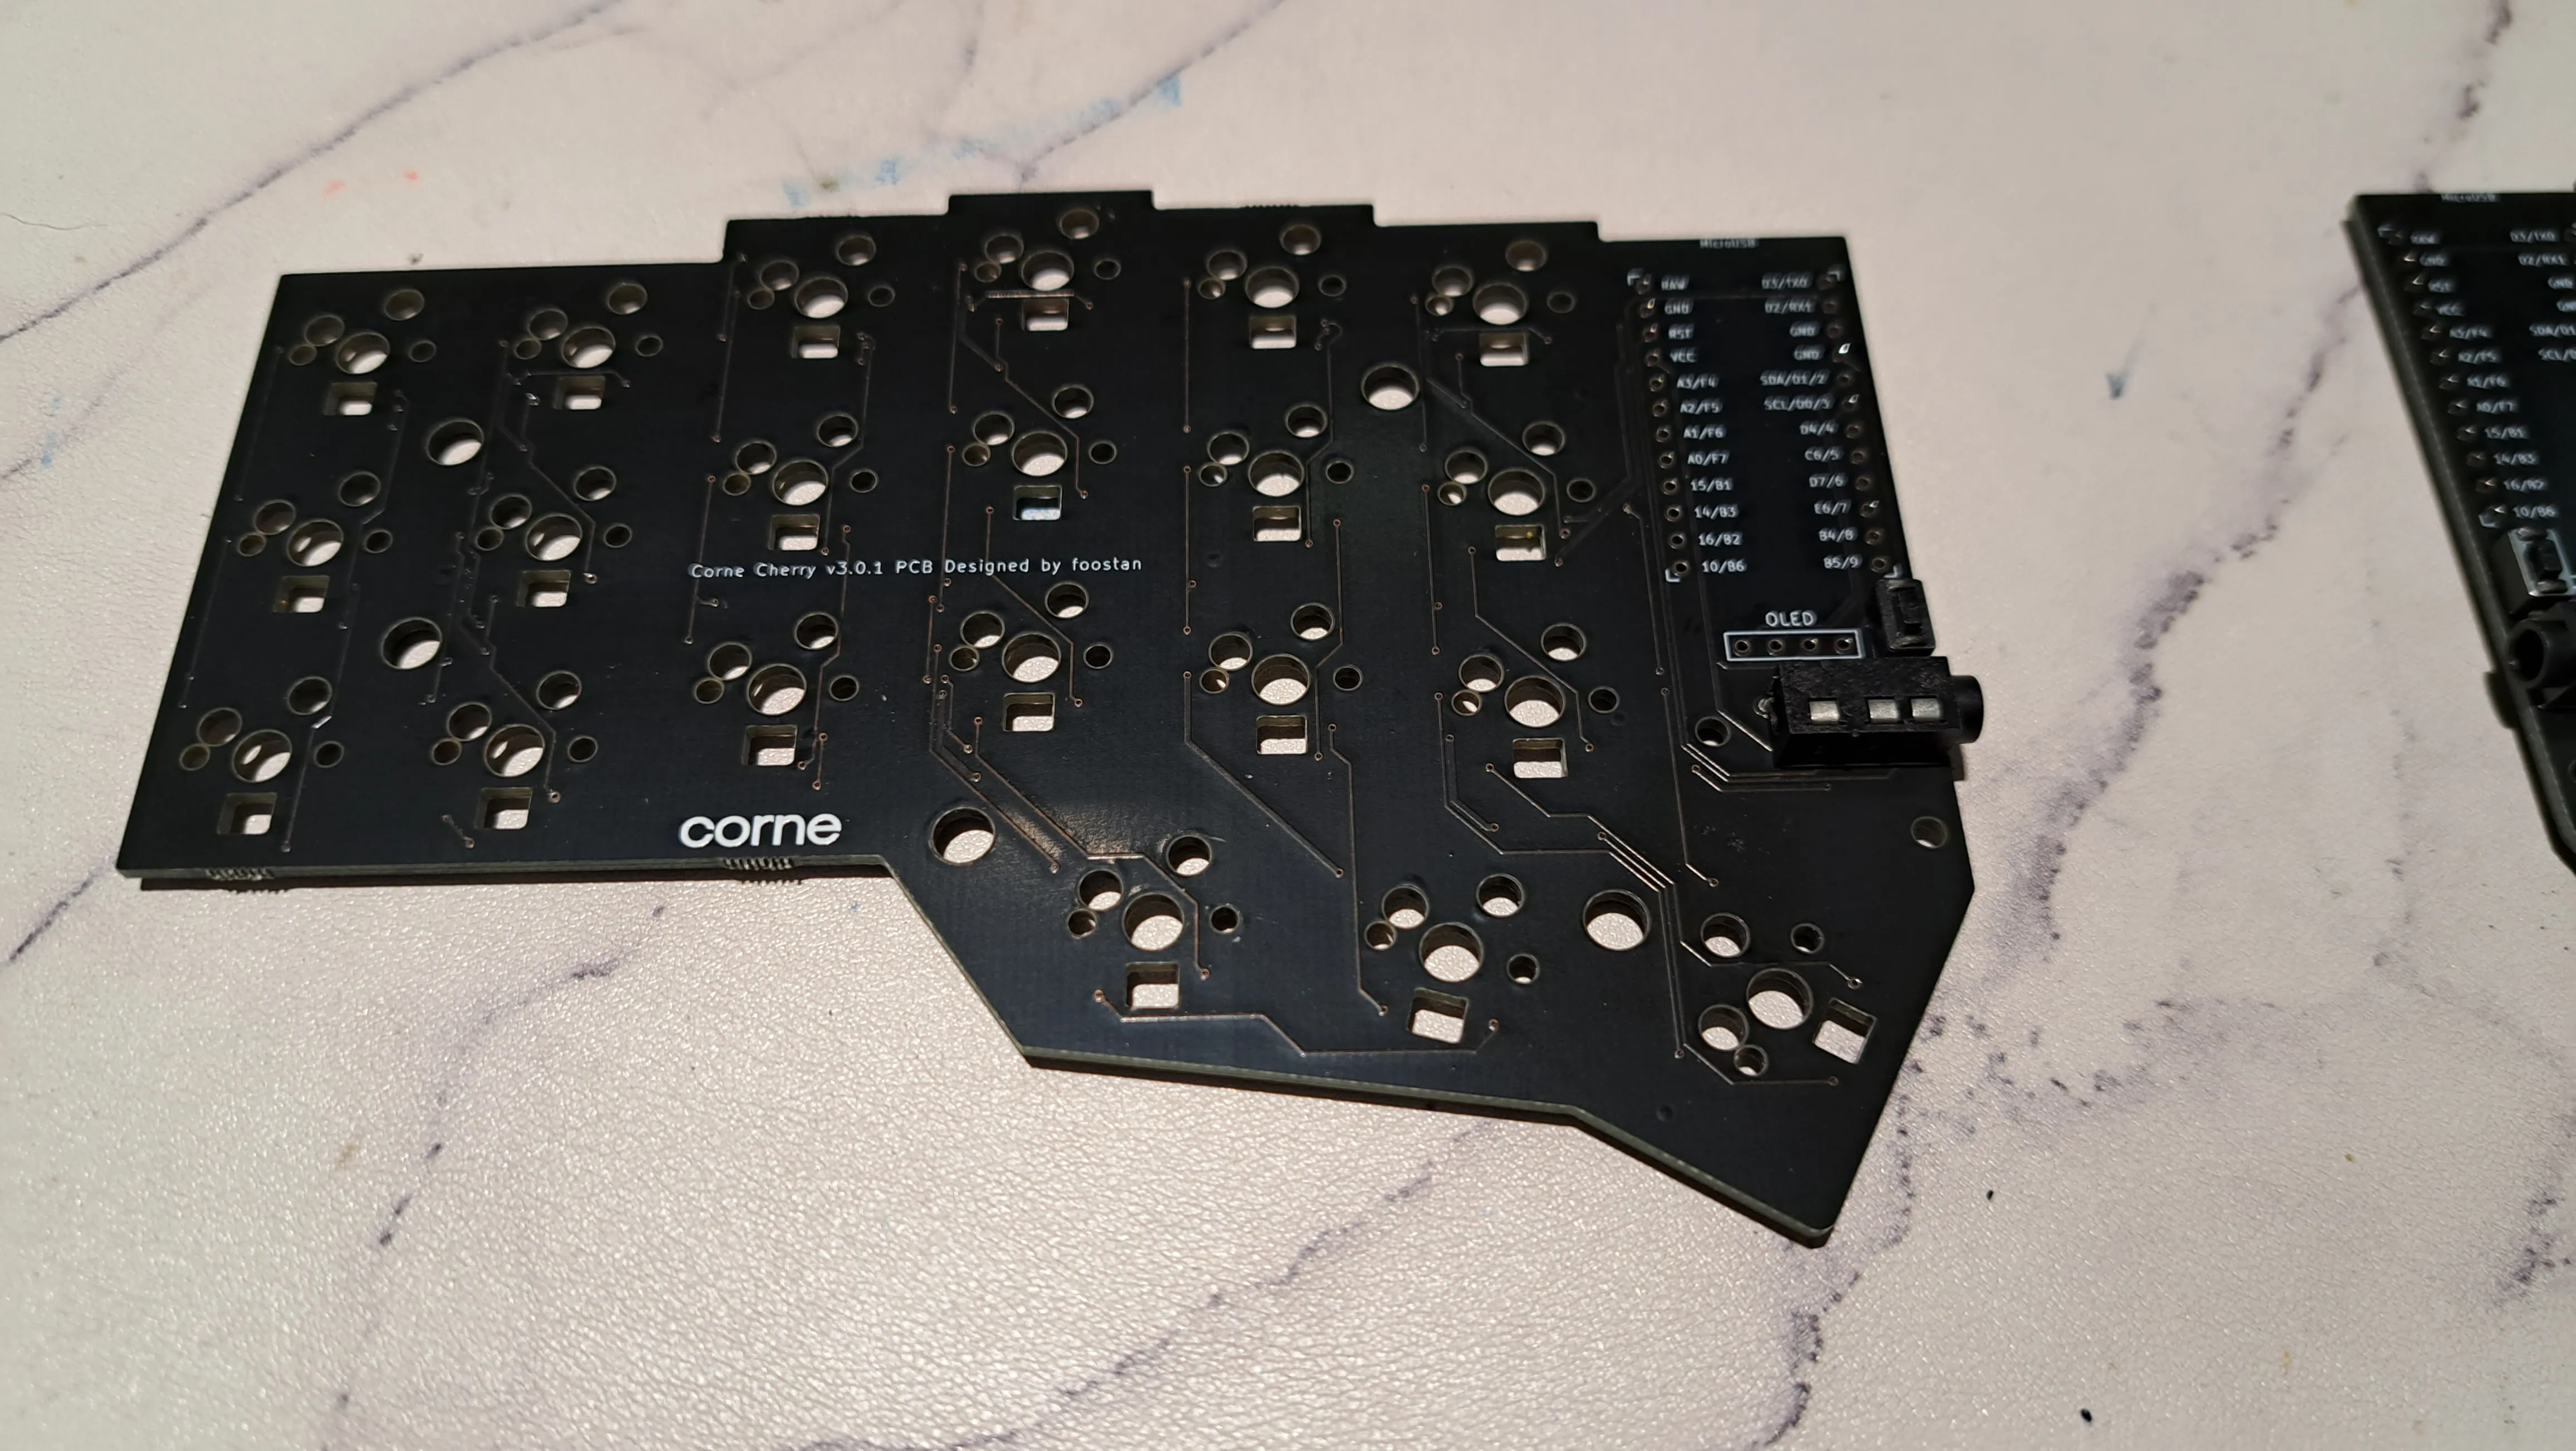
These were fairly straightforward components to solder. I used masking tape to hold them in place while soldering their pins.
The reset switch connects the RST and GND pins of the Pro Micro and is used for flashing firmware (I had to short the pins with tweezers before). The TRRS jack is used to connect both halves of the keyboard.
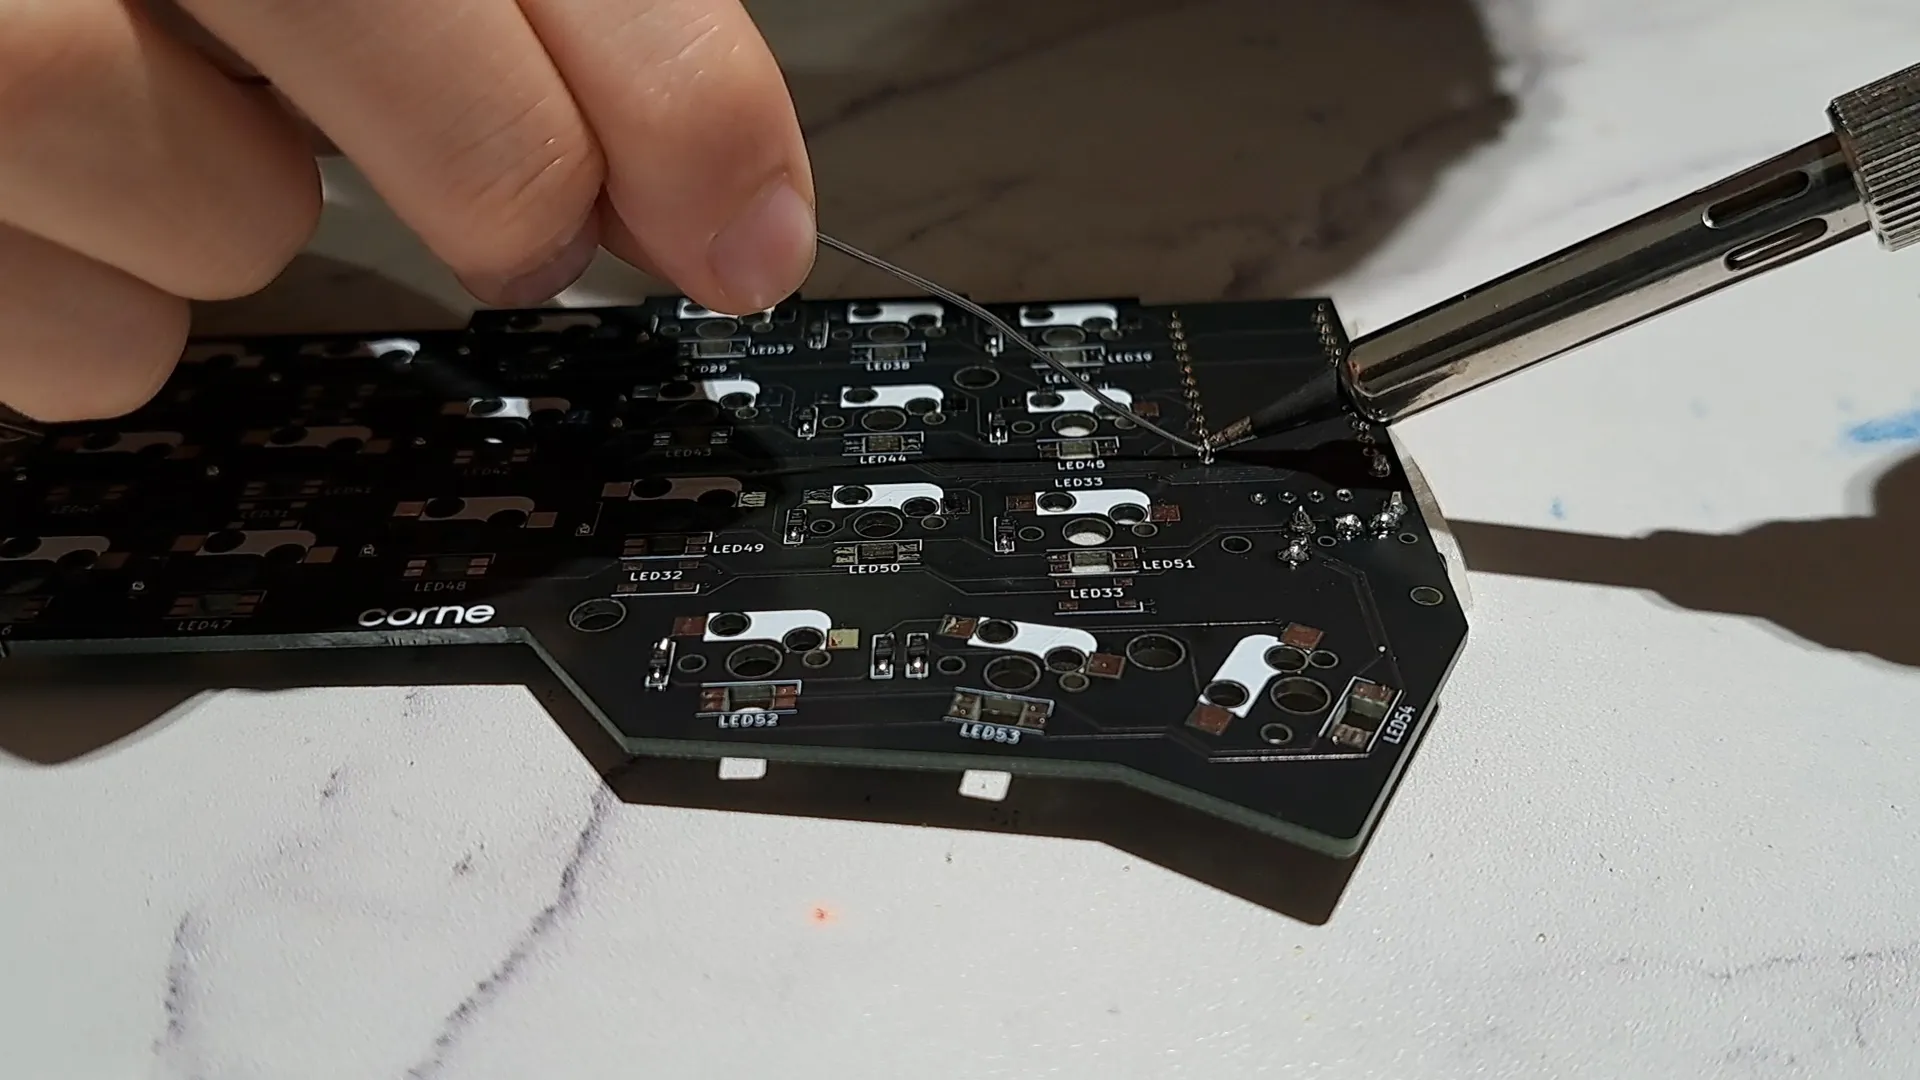
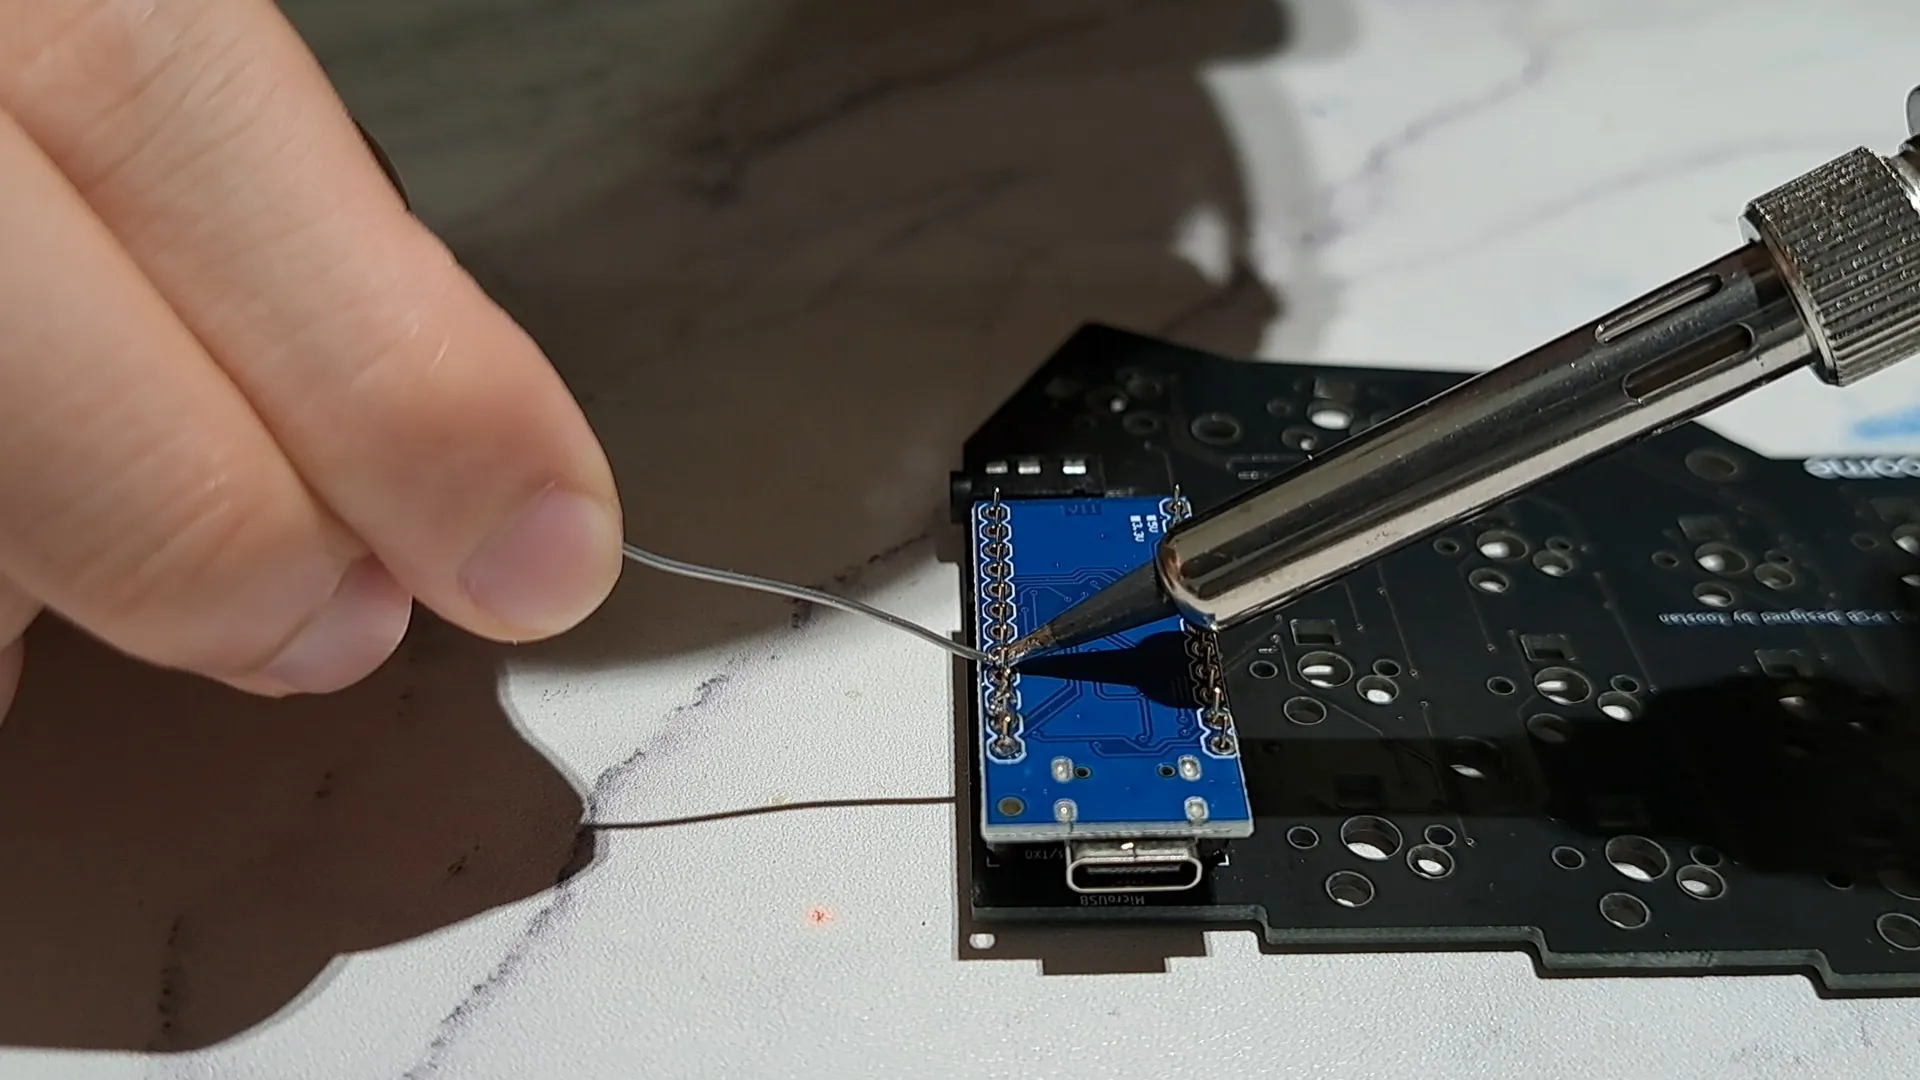
Next up was the microcontroller, which involved soldering the headers to the PCB first, then soldering the microcontroller to the headers.
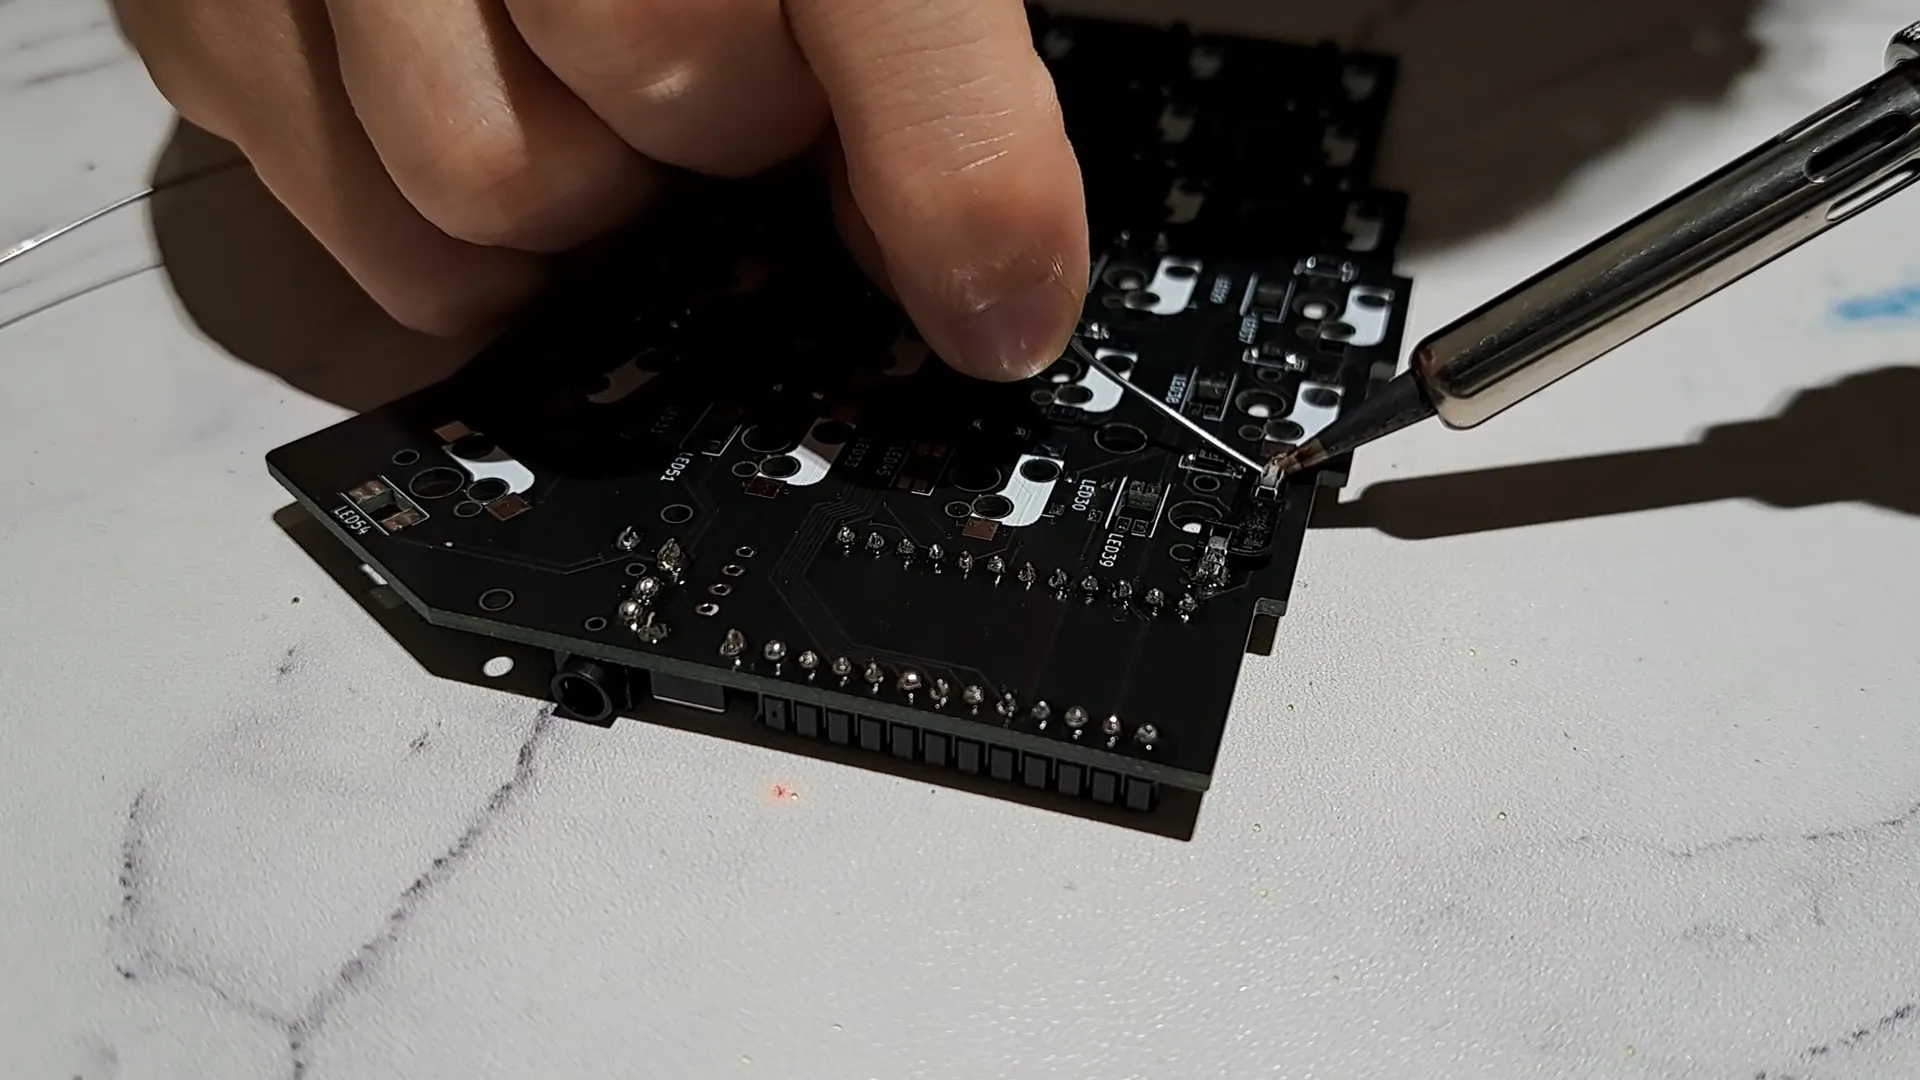
Finally, the last part of the circuit was the switch sockets. These are designed to be hot-swappable, meaning that I can attach the keyswitches simply by pressing them into the socket without soldering.
Case assembly
For the case, I decided to use this design created by VOID. A good friend of mine helped me to 3D-print the case in black PETG filament and I ordered the rest of the parts on Taobao.
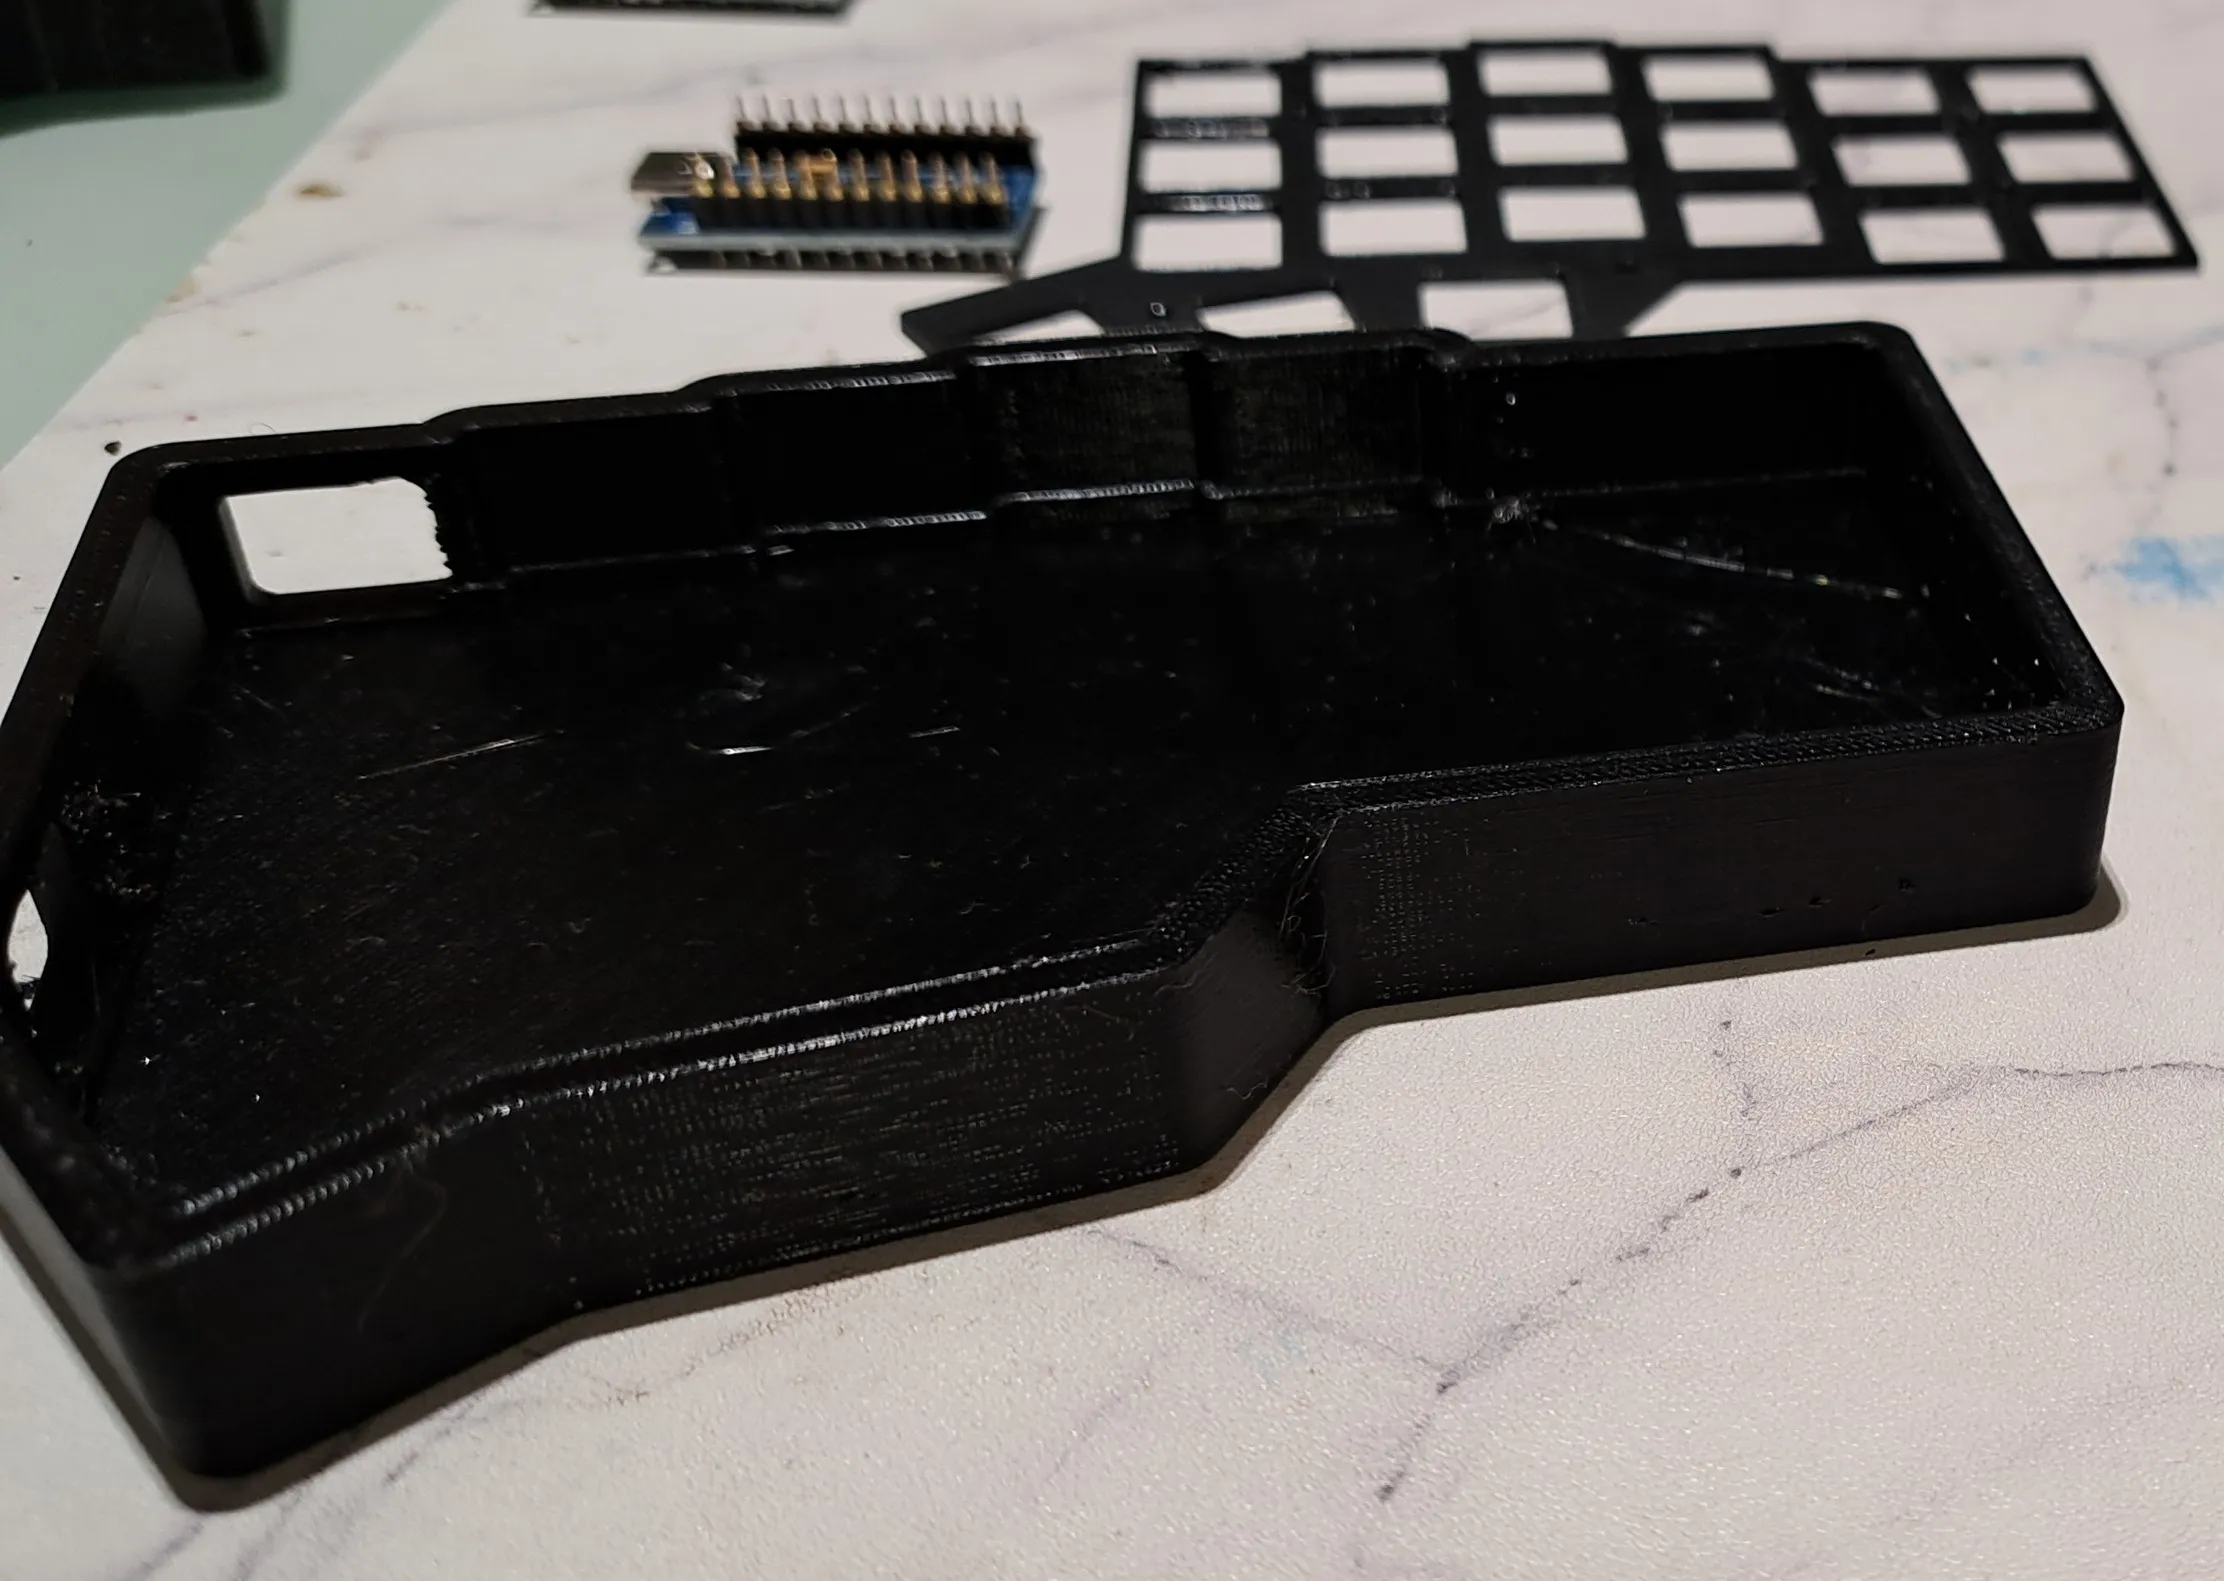
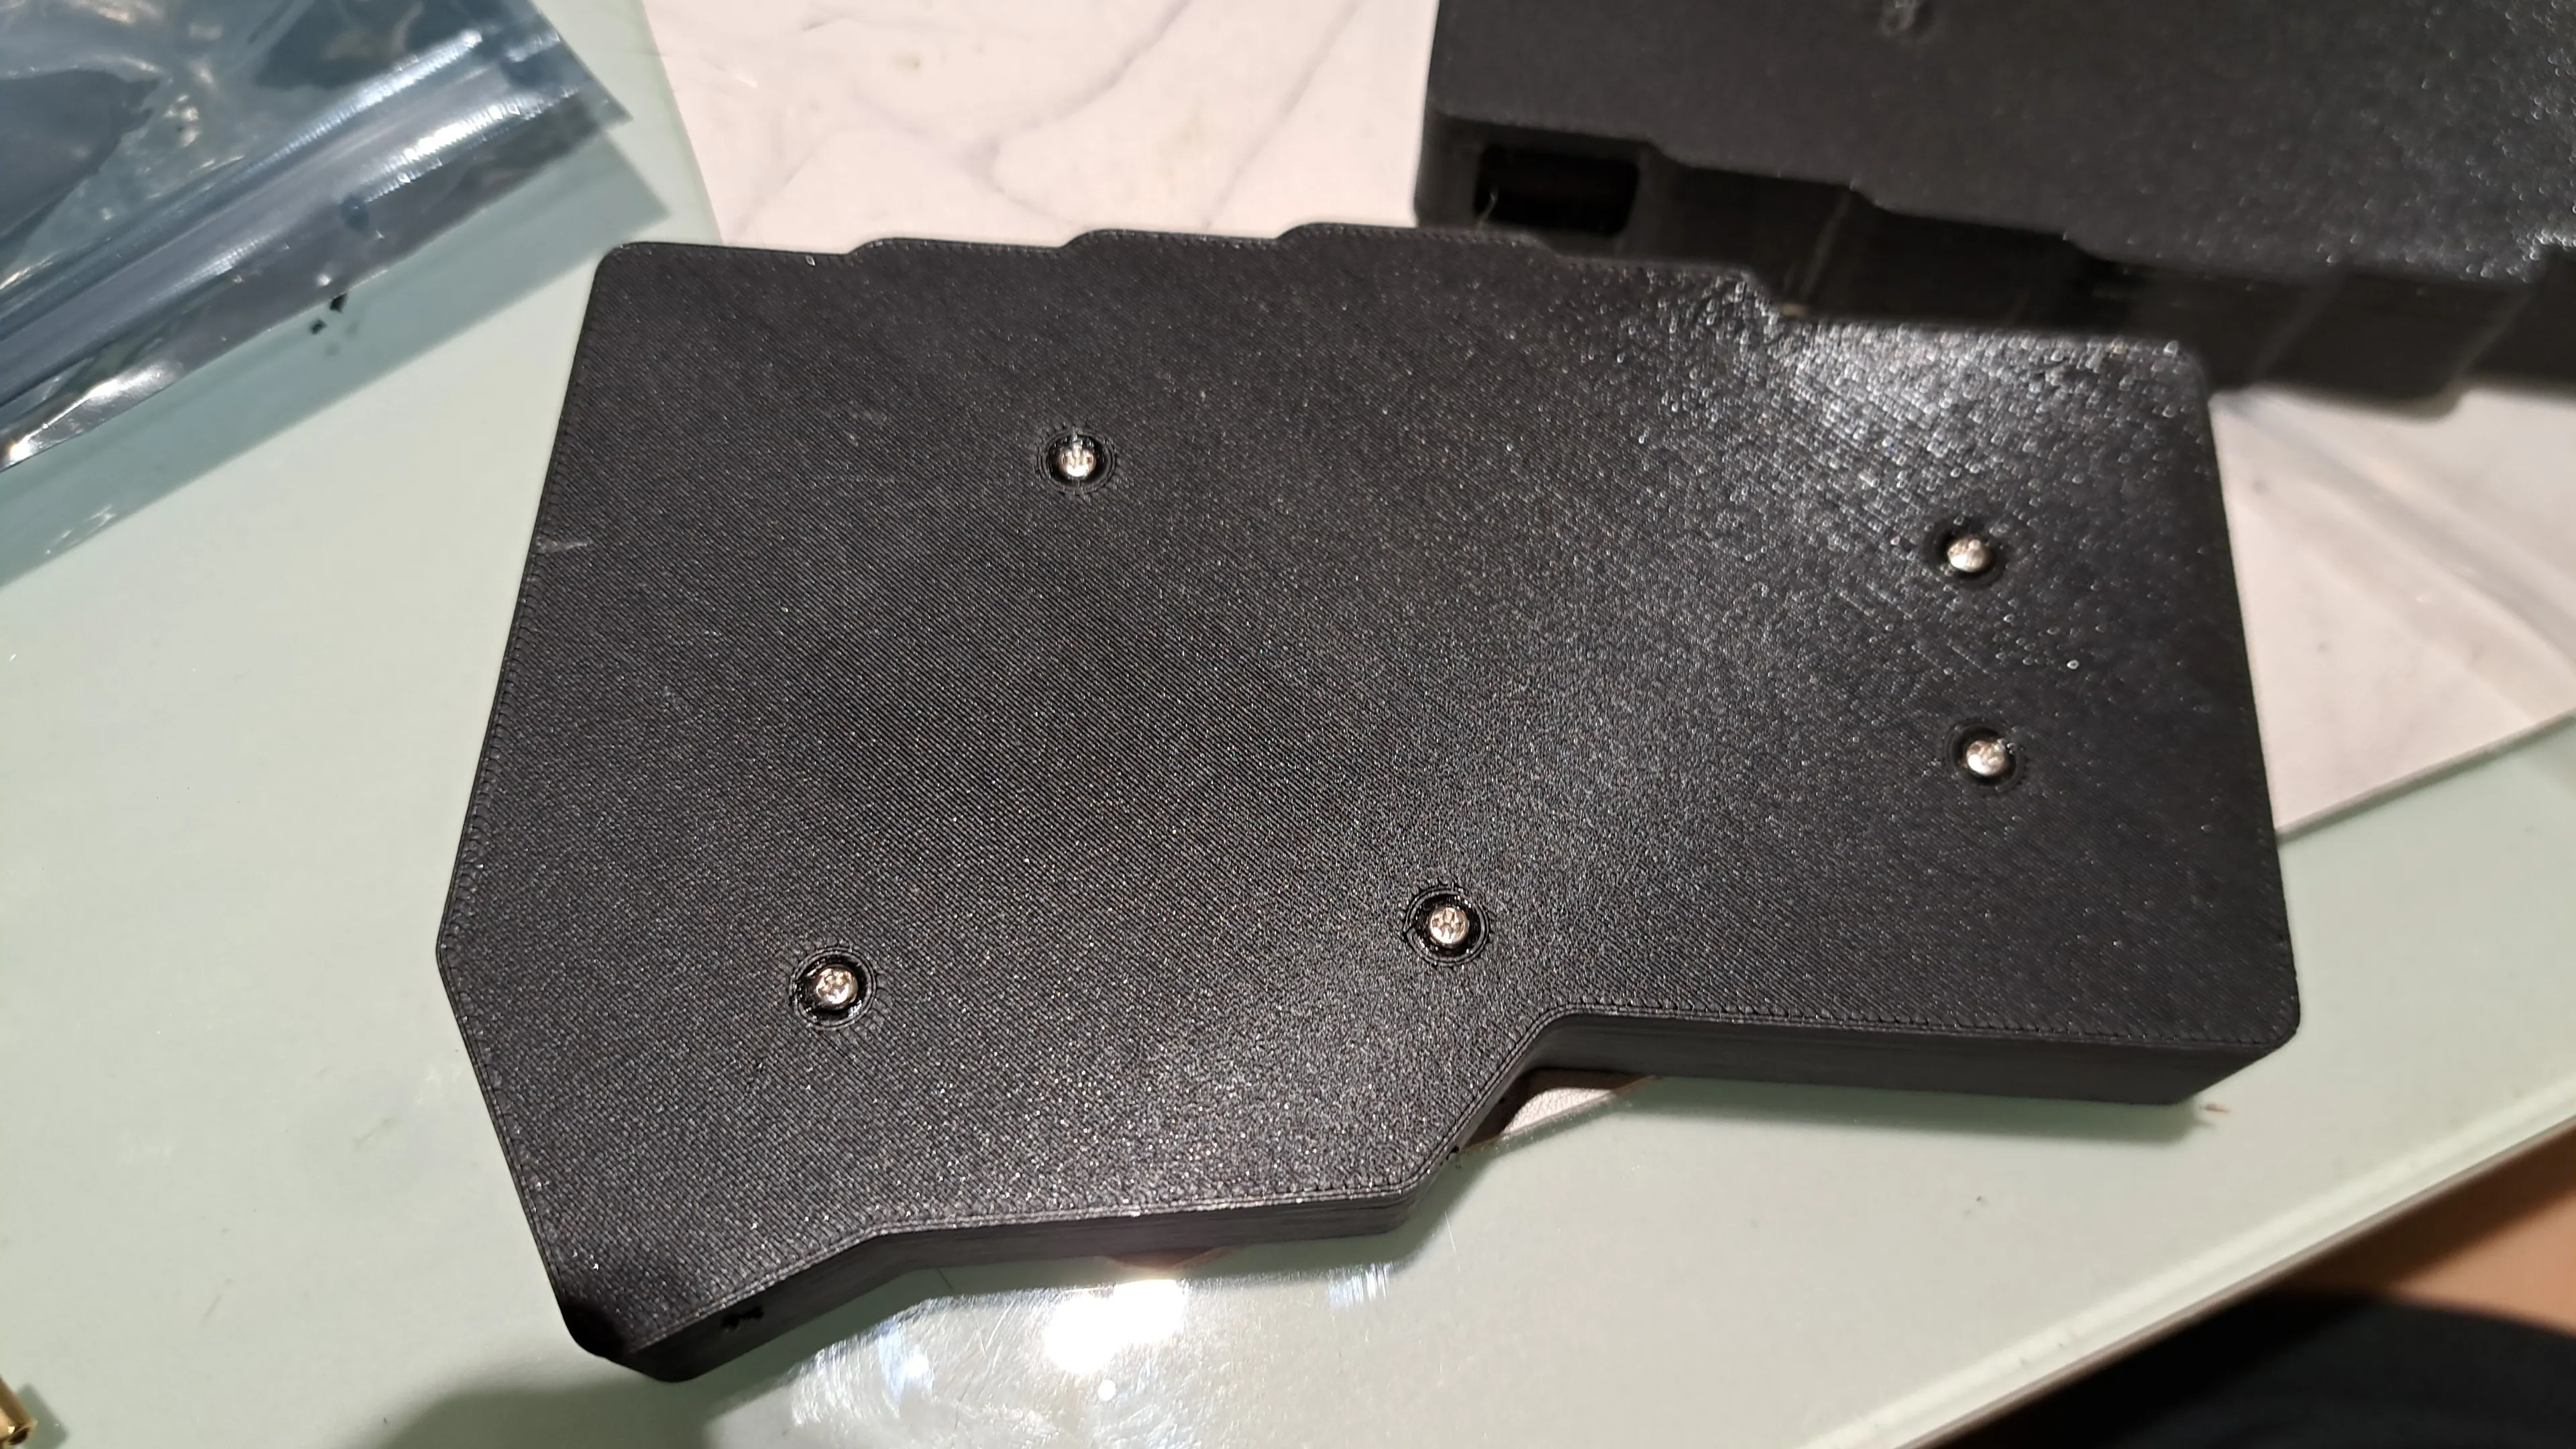
To assemble the case:
- Attach hex spacers (M2 7.5mm) to the bottom of the case with screws (M2 4mm)
- Place the PCB within the case enclosure, passing the spacers through the holes
- Place the switch plate over the PCB and screw it to the spacers
- Press the switches into the plate and PCB, starting with the corners
- Attach keycaps to switches
- Stick rubber feet onto the bottom to prevent the keyboard from sliding around
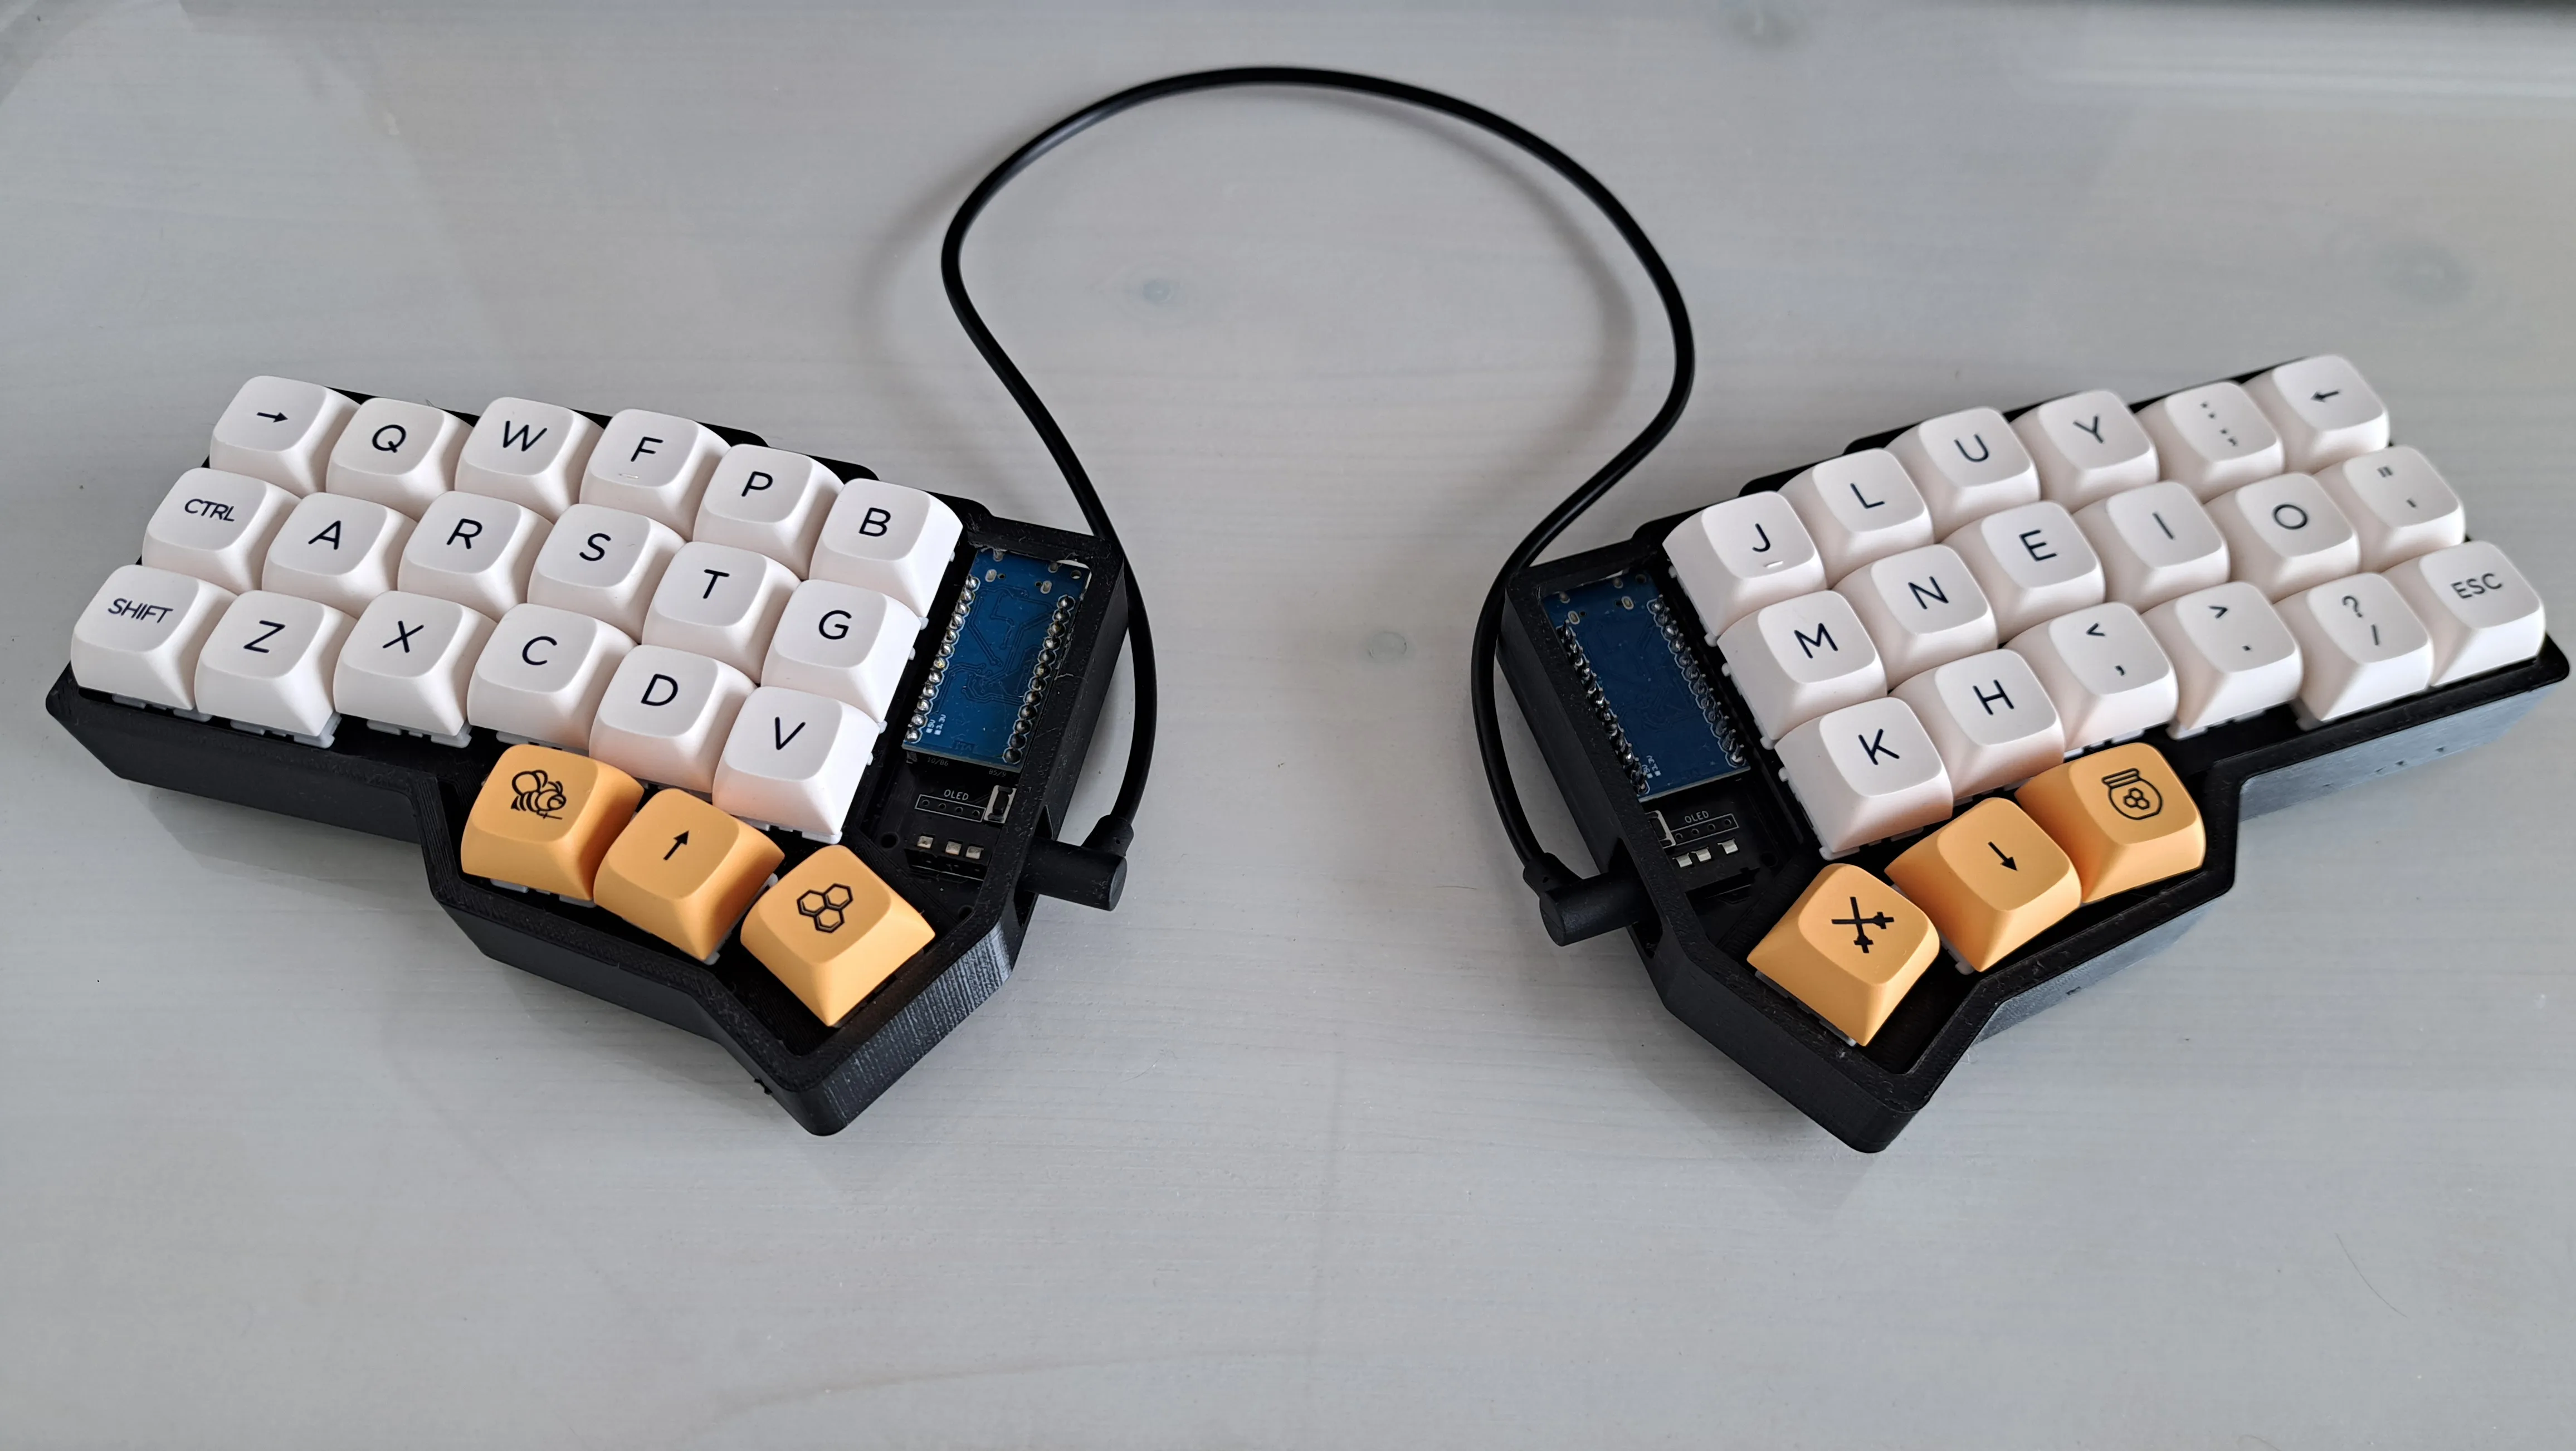
I used linear Wuque Studio WS Yellow switches and XDA Honey Milk PBT keycaps.
Finished product
Learning to type
Adjusting to the new layout was quite difficult initially. I used keybr for practice, which helped me pick up speed and improve my consistency.
I also decided to learn a different layout, Colemak Mod-DH, using the DHm variant for split (“matrix”) keyboards. Among other features, the layout is optimized for rolls, where common bigrams (2-letter sequences) are adjacent keys, making typing faster (and more satisfying).
Although the journey was difficult, I found that re-learning to type helped improve my typing form. When I first learnt to type in primary school, I would often only use a few fingers and use the wrong finger for some keys, limiting my speed, accuracy and typing comfort.
However, one tricky point for me was using my Linux and NeoVim/Helix based coding setup. I configured it to use keyboard shortcuts for nearly everything, which made it hard to adapt and change my muscle memory while having to think about the code as well.
What’s next
I was surprised to find that building the Corne cost about half of the price of a K2. I’m excited to continue this project at the school makerspaces and when I get to university, exploring other layouts and form factors. I’m particularly interested in the portable, low-profile Ferris Sweep and the Dactyl-inspired Skeletyl.
Regarding the layout, I think it might be helpful to try and learn how to use home row mods, which is when modifier keys like Super (Windows), Alt, Control and Shift are moved to the home row. This works because the keyboard firmware can be configured to output the home keys on tap and activate the modifiers on hold. This promises to bring many benefits, especially reduced typing distance, but I’m honestly not sure if I’m ready to take this step yet, especially if it will add more cognitive load to programming.
For a tool that we programmers use so often, it’s surprising how unoptimized standard keyboards are for ergonomics and productivity. I hope to continue my exploration of ergonomic split keyboards in the future to improve my workflow and maker skills!